Euro Appliances ECT60WCX - Manuals
User Manual Euro Appliances ECT60WCX


Summary
This manual explains the proper installation and use of your appliance, please read it carefully before using even if you are familiar with the product. The manual should be kept in a safe place for future reference. In case of failure, only the Authorize d Technical Service may repair this hob. Oth...
2 Children’s Safety ⚫ The cooking zones will become hot when you cook. Therefore, always keep small children away from the appliance. ⚫ The appliance is not intended for use by young children or infirm persons without supervision. ⚫ Young children should be supervised to ensure that they do not play...
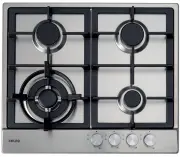
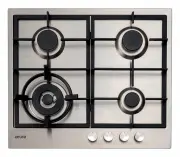
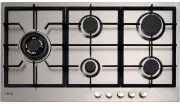
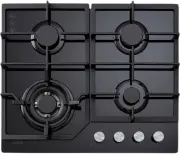
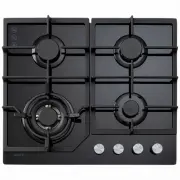
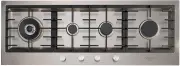
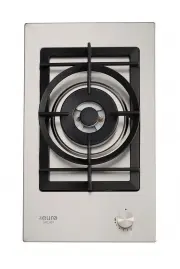
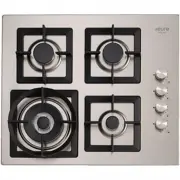
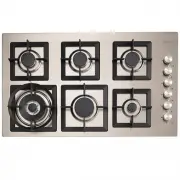
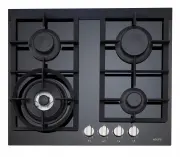
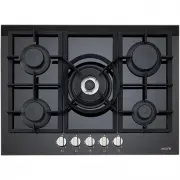
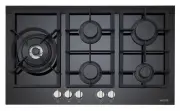
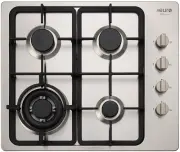
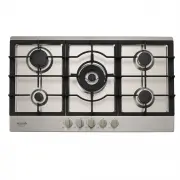
4 Product Description No. Model Burner* FSD Pan supports Knob position Total gas consuption Over view 1 ECT600GS 1W+2SR+1A With Enamel Front LPG: 27.5MJ/h NG: 26.0MJ/h 2 ECT60WCX 1W+2SR+1A With Cast iron Front LPG: 30.5MJ/h NG: 29.5MJ/h 3 ECT60GS 1R+2SR+1A With Cast iron Right LPG: 30.5MJ/h NG: 29.5...
Euro Appliances Hobs Manuals
-
 Euro Appliances E60CTWX
User Manual
Euro Appliances E60CTWX
User Manual
-
 Euro Appliances E90CTWX
User Manual
Euro Appliances E90CTWX
User Manual
-
 Euro Appliances ECT600GBK
User Manual
Euro Appliances ECT600GBK
User Manual
-
 Euro Appliances ECT600GBK2
User Manual
Euro Appliances ECT600GBK2
User Manual
-
 Euro Appliances ECT60ICB
User Manual
Euro Appliances ECT60ICB
User Manual
-
 Euro Appliances ECT900GBK
User Manual
Euro Appliances ECT900GBK
User Manual
-
 Euro Appliances ECT900GBK2
User Manual
Euro Appliances ECT900GBK2
User Manual
-
 Euro Appliances EMGC110SX
User Manual
Euro Appliances EMGC110SX
User Manual
-
 Euro Appliances EMJG30WSX
User Manual
Euro Appliances EMJG30WSX
User Manual
-
 Euro Appliances EMJGC60SX
User Manual
Euro Appliances EMJGC60SX
User Manual
-
 Euro Appliances EMJGC900SX
User Manual
Euro Appliances EMJGC900SX
User Manual
-
 Euro Appliances ES60GFDBL
User Manual
Euro Appliances ES60GFDBL
User Manual
-
 Euro Appliances ES700GFDBL
User Manual
Euro Appliances ES700GFDBL
User Manual
-
 Euro Appliances ES90WGFDBL
User Manual
Euro Appliances ES90WGFDBL
User Manual
-
 Euro Appliances EV3WCTSFD
User Manual
Euro Appliances EV3WCTSFD
User Manual
-
 Euro Appliances EV90BGCSX
User Manual
Euro Appliances EV90BGCSX
User Manual