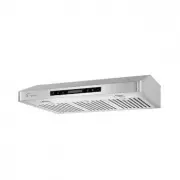
Empava EPA-30RH03 - Manuals
User Manual Empava EPA-30RH03


Summary
Page 1 Important Safety Notice Read all Instructions before Installing and operating this appliance The installation in this manual is intended for qualified installers, service technicians or persons with • similar qualified background. Installation and electrical wiring must be done by qualified p...
Page 2 Important Safety Notice Read all Instructions before Installing and operating this appliance The manufacturer and/or distributor/reseller declines all responsibility in the event of failure to ob- serve the instructions given here for installation, maintenance and suitable use of the product....
Range hood operations............................12-13 Troubleshooting...........................................14 Cleaning...............................................15 Table of Contents INSTALLATION Tools needed....................................................3 Parts supplied..................
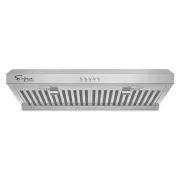
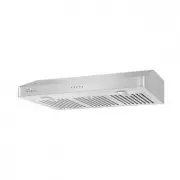
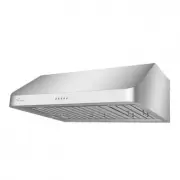
Empava Range Hoods Manuals
-
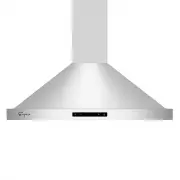
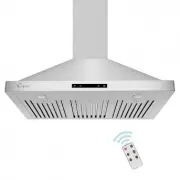
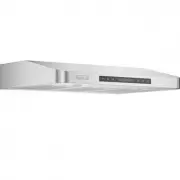
 Empava EMP-30RH01
User Manual
Empava EMP-30RH01
User Manual
-
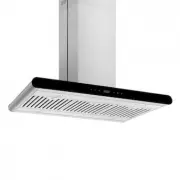
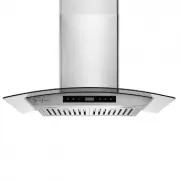
Empava EMP-30RH03
User Manual
-
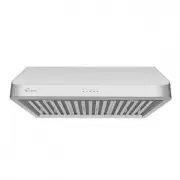
 Empava EMP-30RH06
User Manual
Empava EMP-30RH06
User Manual
-
 Empava EMP-30RH08
User Manual
Empava EMP-30RH08
User Manual
-
 Empava EMP-30RH11
User Manual
Empava EMP-30RH11
User Manual
-
 Empava EMP-30RH13
User Manual
Empava EMP-30RH13
User Manual
-
 Empava EMP-36RH02
User Manual
Empava EMP-36RH02
User Manual
-
 Empava EMP-36RH04
User Manual
Empava EMP-36RH04
User Manual
-
 Empava EMP-36RH09
User Manual
Empava EMP-36RH09
User Manual
-
 Empava EMP-36RH10
User Manual
Empava EMP-36RH10
User Manual
-
 Empava EMP-36RH12
User Manual
Empava EMP-36RH12
User Manual
-
 Empava EMP-36RH14
User Manual
Empava EMP-36RH14
User Manual
-
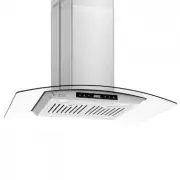
 Empava EMPV-30RH01
User Manual
Empava EMPV-30RH01
User Manual
-
 Empava EMPV-30RH03
User Manual
Empava EMPV-30RH03
User Manual
-
 Empava EMPV-30RH05
User Manual
Empava EMPV-30RH05
User Manual
-
 Empava EMPV-30RH06
User Manual
Empava EMPV-30RH06
User Manual
-
 Empava EMPV-30RH08
User Manual
Empava EMPV-30RH08
User Manual
-
 Empava EMPV-30RH11
User Manual
Empava EMPV-30RH11
User Manual
-
 Empava EMPV-30RH13
User Manual
Empava EMPV-30RH13
User Manual
-
 Empava EMPV-36RH02
User Manual
Empava EMPV-36RH02
User Manual