Electrolux EWF8024CDWA - Manuals
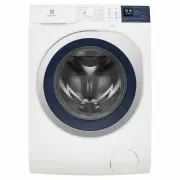
User Manual Electrolux EWF8024CDWA


Summary
2 www.electrolux.com Visit our website to: Warning / Caution-Safety information. General information and tips Environmental information. Subject to change without notice. WE’RE THINKING OF YOU CUSTOMER CARE AND SERVICE Thank you for purchasing an Electrolux appliance. You’ve chosen a product that br...
8 www.electrolux.com Cabinet Front Panel Door Level Adjustment Feet (Front) Level Adjustment Feet (Back) Transit Bolts & Hose Support Transit Bolts & Hose Support Mains Cable Worktop Transit Bolts 2. PRODUCT DESCRIPTION 2.1 Parts Detergent/Softener Dispenser (see page 18) Control Panel (see ...
10 www.electrolux.com 1234 Program Selector Knob Spin Selection Touchpad On/Off Button Temperature Selection Touchpad 567 8 Vapour Touchpad Start/Pause and Add Clothes Touchpad Extra Rinse Touchpad 11 Display Display 12 Save Favourite Program Option 13 Child Lock Option Prewash Touchpad 9 10 Delay E...
Electrolux Washing Machines Manuals
-
 Electrolux E4WMSTPN1
User Manual
Electrolux E4WMSTPN1
User Manual
-
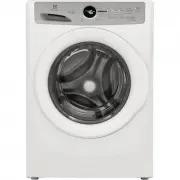
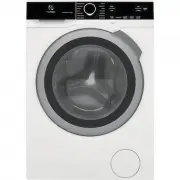 Electrolux ELFW4222AW
User Manual
Electrolux ELFW4222AW
User Manual
-
Electrolux ELFW4222AW
Manual
-
 Electrolux ELFW7337AW
User Manual
Electrolux ELFW7337AW
User Manual
-
Electrolux ELFW7337AW
Manual
-
 Electrolux ELFW7437AG
User Manual
Electrolux ELFW7437AG
User Manual
-
 Electrolux ELFW7437AW
User Manual
Electrolux ELFW7437AW
User Manual
-
Electrolux ELFW7437AW
Manual
-
 Electrolux ELFW7537AT
User Manual
Electrolux ELFW7537AT
User Manual
-
Electrolux ELFW7537AT
Installation Manual
-
Electrolux ELFW7537AT
Manual
-
 Electrolux ELFW7537AW
User Manual
Electrolux ELFW7537AW
User Manual
-
Electrolux ELFW7537AW
Manual
-
 Electrolux ELFW7637AT
User Manual
Electrolux ELFW7637AT
User Manual
-
Electrolux ELFW7637AT
Manual
-
 Electrolux ELFW7637AW
User Manual
Electrolux ELFW7637AW
User Manual
-
Electrolux ELFW7637AW
Manual
-
 Electrolux ELTE7300AW
User Manual
Electrolux ELTE7300AW
User Manual
-
 Electrolux ELTE7600AT
User Manual
Electrolux ELTE7600AT
User Manual
-
 Electrolux ELTE7600AW
User Manual
Electrolux ELTE7600AW
User Manual