Electrolux EWF14933 - Manuals
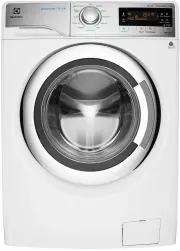
User Manual Electrolux EWF14933


Summary
2 www.electrolux.com CONTENTS 1.1 Conditions Of Use 1.2 Child Safety 1.3 Child Safety Device (Door Block Button) 1.4 General Safety 1.5 Installation 1.6 Use 1. SAFETY INFORMATION ........................................................................................................ 4 .................
5 Make sure that children or pets do not climb into the drum. When you activate this device, you cannot close the door. This prevents children or pets to be locked in the drum. 1.3 Child Safety Device (Door Block Button) ● This machine is provided with child safety lock option ( ) to prevent childre...
6 www.electrolux.com Never use the washing machine if the power supply cable, the control panel, the working surface or the base are damaged so that the inside of the washing machine is acces- sible. This appliance is not intended for use by persons (including children) with reduced physical, sensor...
Electrolux Washing Machines Manuals
-
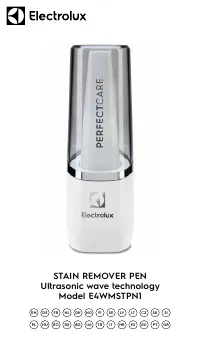 Electrolux E4WMSTPN1
User Manual
Electrolux E4WMSTPN1
User Manual
-
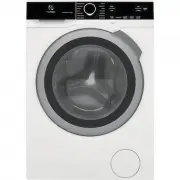 Electrolux ELFW4222AW
User Manual
Electrolux ELFW4222AW
User Manual
-
Electrolux ELFW4222AW
Manual
-
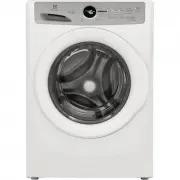 Electrolux ELFW7337AW
User Manual
Electrolux ELFW7337AW
User Manual
-
Electrolux ELFW7337AW
Manual
-
 Electrolux ELFW7437AG
User Manual
Electrolux ELFW7437AG
User Manual
-
 Electrolux ELFW7437AW
User Manual
Electrolux ELFW7437AW
User Manual
-
Electrolux ELFW7437AW
Manual
-
 Electrolux ELFW7537AT
User Manual
Electrolux ELFW7537AT
User Manual
-
Electrolux ELFW7537AT
Installation Manual
-
Electrolux ELFW7537AT
Manual
-
 Electrolux ELFW7537AW
User Manual
Electrolux ELFW7537AW
User Manual
-
Electrolux ELFW7537AW
Manual
-
 Electrolux ELFW7637AT
User Manual
Electrolux ELFW7637AT
User Manual
-
Electrolux ELFW7637AT
Manual
-
 Electrolux ELFW7637AW
User Manual
Electrolux ELFW7637AW
User Manual
-
Electrolux ELFW7637AW
Manual
-
 Electrolux ELTE7300AW
User Manual
Electrolux ELTE7300AW
User Manual
-
 Electrolux ELTE7600AT
User Manual
Electrolux ELTE7600AT
User Manual
-
 Electrolux ELTE7600AW
User Manual
Electrolux ELTE7600AW
User Manual