Electrolux EWF12763E - Manuals
User Manual Electrolux EWF12763E


Summary
CONTENTS CUSTOMER CARE AND SERVICE 2 www.electrolux.com SAFETY INFORMATION PRODUCT DESCRIPTIONCONTROL PANELBEFORE FIRST USEDAILY USE WASHING HINTSINTERNATIONAL WASH CODE SYMBOLSCARE AND CLEANINGTROUBLESHOOTING ................................................................................... 3 .......
SAFETY INFORMATION 3 In the interest of your safety and to ensure the correct use, before installing and first using the appliance, read this user manual care-fully, including its hints and warnings. This appliance is intended to be used in household and similar applications such as: Farm housesBy c...
4 www.electrolux.com Do not use your washing machine to wash articles with whalebones, material without hems or torn material. Always unplug the appliance and turn off the water supply after use, clean and maintenance. This appliance is heavy. Care should be taken when moving it. When unpacking the ...
Electrolux Washing Machines Manuals
-
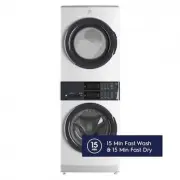
 Electrolux E4WMSTPN1
User Manual
Electrolux E4WMSTPN1
User Manual
-
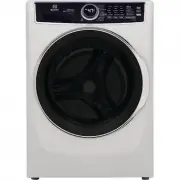
 Electrolux ELFW4222AW
User Manual
Electrolux ELFW4222AW
User Manual
-
Electrolux ELFW4222AW
Manual
-
 Electrolux ELFW7337AW
User Manual
Electrolux ELFW7337AW
User Manual
-
Electrolux ELFW7337AW
Manual
-
 Electrolux ELFW7437AG
User Manual
Electrolux ELFW7437AG
User Manual
-
 Electrolux ELFW7437AW
User Manual
Electrolux ELFW7437AW
User Manual
-
Electrolux ELFW7437AW
Manual
-
 Electrolux ELFW7537AT
User Manual
Electrolux ELFW7537AT
User Manual
-
Electrolux ELFW7537AT
Installation Manual
-
Electrolux ELFW7537AT
Manual
-
 Electrolux ELFW7537AW
User Manual
Electrolux ELFW7537AW
User Manual
-
Electrolux ELFW7537AW
Manual
-
 Electrolux ELFW7637AT
User Manual
Electrolux ELFW7637AT
User Manual
-
Electrolux ELFW7637AT
Manual
-
 Electrolux ELFW7637AW
User Manual
Electrolux ELFW7637AW
User Manual
-
Electrolux ELFW7637AW
Manual
-
 Electrolux ELTE7300AW
User Manual
Electrolux ELTE7300AW
User Manual
-
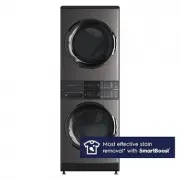 Electrolux ELTE7600AT
User Manual
Electrolux ELTE7600AT
User Manual
-
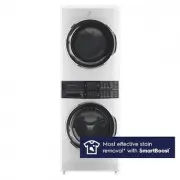 Electrolux ELTE7600AW
User Manual
Electrolux ELTE7600AW
User Manual