ECHO ES-250AA - Manuals
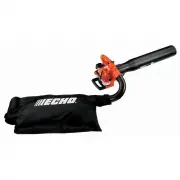
User Manual ECHO ES-250AA


Summary
3 P ower B lower o Perator ' s M anual s afeTy manual safeTy symbols and ImporTanT InformaTIon Throughout this manual and on the product itself, you will find safety alerts and helpful, informational messages preceded by symbols or key words. The following is an explanation of those symbols and key ...
6 equIpmenT CheCk wARNiNg Use only ECHO approved attachments. Serious injury may result from the use of a non-approved attachment combi- nation. ECHO, INC. will not be responsible for the failure of cutting devices, attachments or accessories which have not been tested and approved by ECHO. Read and...
7 P ower B lower o Perator ' s M anual d esCrIpTIon Locate the safety decals on your unit. Make sure the decals are legible and that you understand and follow the instruc- tions on them. If a decal cannot be read, a new one can be ordered from your ECHO dealer. See PARTS ORDERING instructions for sp...
ECHO Leaf Blowers Manuals
-
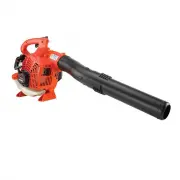
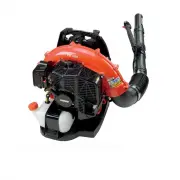
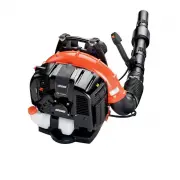
 ECHO DPB-2500C1
User Manual
ECHO DPB-2500C1
User Manual
-
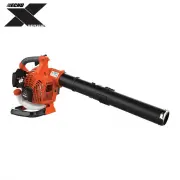
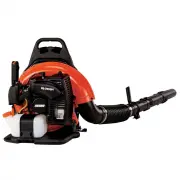
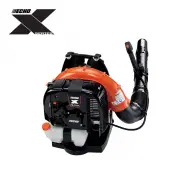
 ECHO DPB-2500R2
User Manual
ECHO DPB-2500R2
User Manual
-
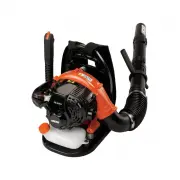
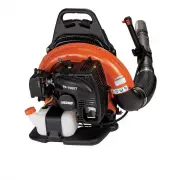
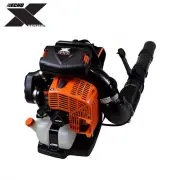
 ECHO DPB-5800TD2-2
User Manual
ECHO DPB-5800TD2-2
User Manual
-
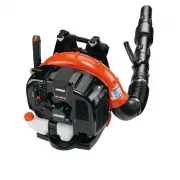
 ECHO PB-2520
User Manual
ECHO PB-2520
User Manual
-
 ECHO PB-2620
User Manual
ECHO PB-2620
User Manual
-
 ECHO PB-265LN
User Manual
ECHO PB-265LN
User Manual
-
ECHO PB-265LN
Manual
-
 ECHO PB-580H
User Manual
ECHO PB-580H
User Manual
-
 ECHO PB-580T
User Manual
ECHO PB-580T
User Manual
-
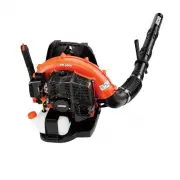
 ECHO PB-755SH
User Manual
ECHO PB-755SH
User Manual
-
 ECHO PB-755ST
User Manual
ECHO PB-755ST
User Manual
-
 ECHO PB-760LNH
User Manual
ECHO PB-760LNH
User Manual
-
 ECHO PB-760LNT
User Manual
ECHO PB-760LNT
User Manual
-
 ECHO PB-770H
User Manual
ECHO PB-770H
User Manual
-
ECHO PB-770H
Manual
-
 ECHO PB-770T
User Manual
ECHO PB-770T
User Manual
-
ECHO PB-770T
Manual
-
 ECHO PB-9010H
User Manual
ECHO PB-9010H
User Manual
-
 ECHO PB-9010T
User Manual
ECHO PB-9010T
User Manual