Page 2 - Contents; Subject to change without notice.; Safety information
Contents Safety information 2 Safety instructions 3 Control panel 4 Programs 5 Before first use 6 Daily use 6 Hints and tips 9 Care and cleaning 10 Troubleshooting 11 Technical information 12 Warranty 12 Subject to change without notice. Safety information Before the installation and use of the appl...
Page 3 - Safety instructions; Installation; Warning! Risk of fire and electrical; Water connection
• If the supply cord is damaged, it must be replaced by the manufacturer, its Authorised Service Centre or a similarly qualified persons in order to avoid a hazard. • Put knives and cutlery with sharp points in the cutlery basket with the points down or in a horizontal position. • Do not keep the ap...
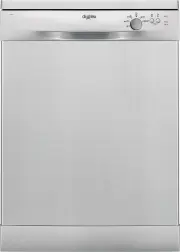
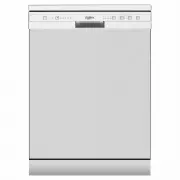
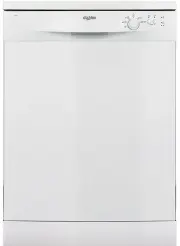
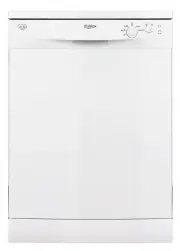
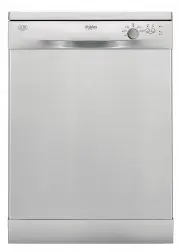
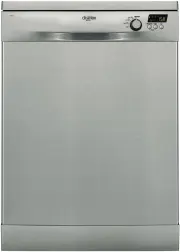
Page 4 - Control panel; Indicators; Indicator
• Do not drink and play with the water in the appliance. • Do not remove the dishes from the appliance until the programme is completed. There can be detergent on the dishes. • The appliance can release hot steam if you open the door while a programme operates. • Do not put flammable products or ite...
Page 5 - Programs; Information for test institutes; For all the necessary information for test performance,
Indicator Description Rinse aid indicator. It is always off while the program operates. Half Load indicator. Programs Program Degree of soil Type of load Program phases Consumption values 1) Duration (min) Energy (kWh) Water (l) 2) Normal soilCrockery andcutlery • Prewash • Wash 50 °C • Rinses • Dry...
Page 6 - Before first use; Start a program to remove any processing; residuals that can still be inside the appliance. Do; Adding rinse aid; Daily use; Set the correct program for the type of load and the; Make sure that the appliance is in Program selection; Adding detergent
Before first use 1. Fill the rinse aid dispenser. 2. Open the water tap. 3. Start a program to remove any processing residuals that can still be inside the appliance. Do not use detergent and do not load the baskets. Adding rinse aid 2 1 4 3 2 1 The rinse aid helps to dry the dishes without streaks ...
Page 7 - • Set the rinse aid dispenser to the lowest position.; Program selection mode
Adding multi-tablets 20 30 A B 20 30 • Set the rinse aid dispenser to the lowest position. Program selection mode The appliance must be in Program selection mode to start a program. If the control panel does not show this condition, use the Reset function. Reset With Reset you can cancel the running...
Page 8 - Option Half load; the related indicator comes on.; Opening the door while the appliance operates; continues from the point of interruption.
Open the water tap, close the door, select a program, press . Option Half load 1. Set the program.2. Press the related indicator comes on. 3. Press to start the program. This option is available with , and . With this option you can wash a small load of tableware and cookware. The option decreases t...
Page 9 - At the end of the program; Hints and tips; General; Start the shortest program with a rinsing phase. Do
At the end of the program 5 min The indicator comes on. If you do not deactivate the appliance within 5 minutes all indicators goes off. This helps to decrease energy consumption. Turn the knob to . Close the tap. Hints and tips General The following hints will ensure optimal cleaning and drying res...
Page 10 - Let the tableware cool down before you remove it; Care and cleaning; Cleaning the filters
Loading the baskets • Only use the appliance to wash items that are dishwasher-safe. • Do not put in the appliance items made of wood, horn, aluminium, pewter and copper. • Do not put in the appliance items that can absorb water (sponges, household cloths). • Remove remaining food from the items. • ...
Page 11 - Troubleshooting; Problem and alarm code
• Put back the filter (A) in the flat filter (C). Turn it clockwise until it locks. An incorrect position of the filters can cause bad washing results and damage to the appliance Cleaning the spray arms Do not remove the spray arms. If the holes in the spray arms are clogged, remove remaining parts ...
Page 12 - The washing and drying results are not satisfactory; Problem; Technical information; Rating Plate; Warranty; FOR SALES IN AUSTRALIA AND NEW ZEALAND
The washing and drying results are not satisfactory Problem Possible solution There are whitish streaks or bluish lay-ers on glasses and dishes. • The release quantity of rinse aid is too much. Adjust the rinse aid selec-tor to a lower position. • The quantity of detergent is too much. There are sta...
Page 14 - Important Notice; SERVICE AUSTRALIA; SERVICE NEW ZEALAND; ENVIRONMENT CONCERNS
purposes the Consumer Guarantee Act does not apply. 9. To the extent permitted by law, Electrolux excludes all warranties and liabilities (other than as contained in this document) including liability for any loss or damage whether direct or indirect arising from your purchase, use or non use of the...