Dimplex LVT20-AU - Manuals
User Manual Dimplex LVT20-AU


Summary
IMPORTANT THESE INSTRUCTIONS SHOULD BE READ CAREFULLY AND RETAINED FOR FUTURE REFERENCE. CAUTION: FAILURE TO FOLLOW THESE INSTRUCTIONS MAY CAUSE INJURY AND/OR DAMAGE AND MAY INVALIDATE YOUR WARRANTY Please read the operating instructions carefully before using your product for the first time and kee...
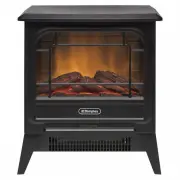
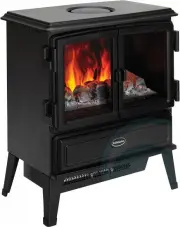
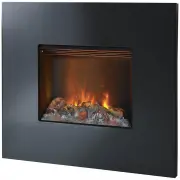
General Information The fire incorporates a flame effect, which can be used with or without heat, so that the comforting effect may be enjoyed at any time of the year. To reduce heat loss and to prevent any chimney up draft affecting the operation of your stove fire, we recommend that the chimney fl...
Fuel Bed Assembly Your fire has been supplied with a range of fuel bed material’s, all models contain a 5-piece log set together with a loose set of crystals and vermiculite pieces to complete the fire effect. See Fig.2 below Note: Each log has a number engraved on the surface to help with identific...
Dimplex Heaters Manuals
-
 Dimplex ALAMEDA
User Manual
Dimplex ALAMEDA
User Manual
-
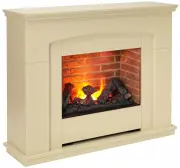
 Dimplex COURCHEVEL
User Manual
Dimplex COURCHEVEL
User Manual
-
 Dimplex CUBIC
User Manual
Dimplex CUBIC
User Manual
-
 Dimplex ECR15
User Manual
Dimplex ECR15
User Manual
-
 Dimplex ECR15FA
User Manual
Dimplex ECR15FA
User Manual
-
 Dimplex ECR24FA
User Manual
Dimplex ECR24FA
User Manual
-
 Dimplex ECR24TIF
User Manual
Dimplex ECR24TIF
User Manual
-
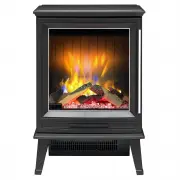
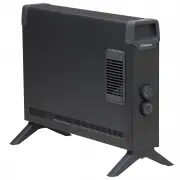
 Dimplex KTN20-AU
User Manual
Dimplex KTN20-AU
User Manual
-
 Dimplex MCFSTV12-AU
User Manual
Dimplex MCFSTV12-AU
User Manual
-
 Dimplex ML2TSFA
User Manual
Dimplex ML2TSFA
User Manual
-
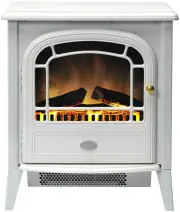
 Dimplex MOCCA
User Manual
Dimplex MOCCA
User Manual
-
 Dimplex MWDS15-AU
User Manual
Dimplex MWDS15-AU
User Manual
-
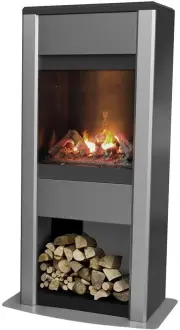
 Dimplex OAKHURST
User Manual
Dimplex OAKHURST
User Manual
-
 Dimplex OCR15FA
User Manual
Dimplex OCR15FA
User Manual
-
 Dimplex OCR15TIF
User Manual
Dimplex OCR15TIF
User Manual
-
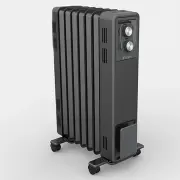
 Dimplex OFC2400TI
User Manual
Dimplex OFC2400TI
User Manual
-
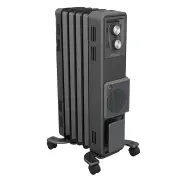
 Dimplex OFC2400TIF
User Manual
Dimplex OFC2400TIF
User Manual
-
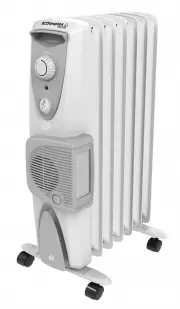 Dimplex OFRC15TFNW
User Manual
Dimplex OFRC15TFNW
User Manual
-
 Dimplex OFRC24TIR
User Manual
Dimplex OFRC24TIR
User Manual
-
 Dimplex PEMBERLEY
User Manual
Dimplex PEMBERLEY
User Manual