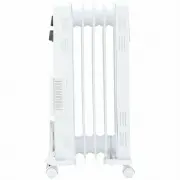
Dimplex ECR24TIF - Manuals
Dimplex ECR24TIF Heater – User Manual in PDF format online.
Manuals:
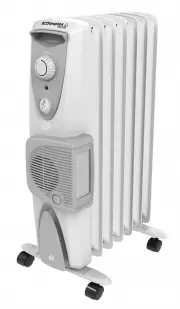
User Manual Dimplex ECR24TIF


Summary
IMPORTANT THESE INSTRUCTIONS SHOULD BE READ CAREFULLY AND RETAINED FOR FUTURE REFERENCE. Note also the information presented on the appliance CAUTION: FAILURE TO FOLLOW THESE INSTRUCTIONS MAY CAUSE INJURY AND/ OR DAMAGE AND MAY INVALIDATE YOUR WARRANTY Please read the operating instructions carefull...
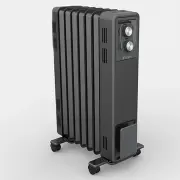
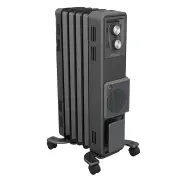
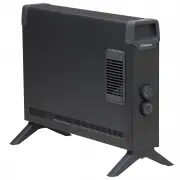
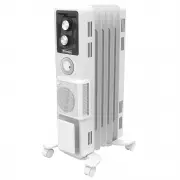
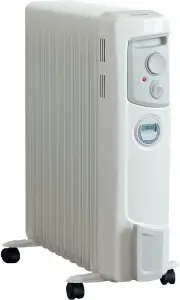
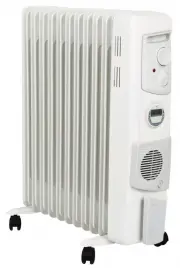
Model no. ECR15 ECR15FA ECR15TIF ECR24 ECR24FA ECR24TIF Power supply 220-240V~, 50Hz Rated power 1500W 2400W Heat settings 3 3 3 3 3 3 Thermostat Y Y Y Y Y Y Timer N N Y N N Y Turbo Fan N Y Y N Y Y Weight (net) 8.1 kg 7.1 kg 7.2 kg 11.8 kg 10.7 kg 10.8 kg Dimensions (w x d x h) 415x280x635mm 320x280...
Fitting The Castors A B WARNING The radiator must only be operated with the wheels and castors fitted and in an upright position. The castors must be fitted to the control panel and on the bracket between the last and second last fin on the opposite end, as shown in Fig.1 . 1. To fit the castors, tu...
Dimplex Heaters Manuals
-
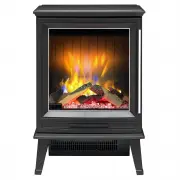
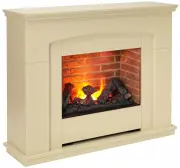 Dimplex ALAMEDA
User Manual
Dimplex ALAMEDA
User Manual
-
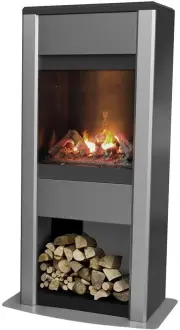
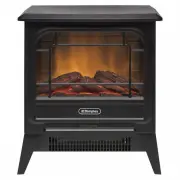
 Dimplex COURCHEVEL
User Manual
Dimplex COURCHEVEL
User Manual
-
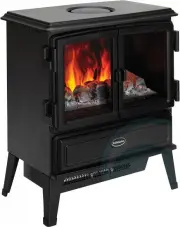
 Dimplex CUBIC
User Manual
Dimplex CUBIC
User Manual
-
 Dimplex ECR15
User Manual
Dimplex ECR15
User Manual
-
 Dimplex ECR15FA
User Manual
Dimplex ECR15FA
User Manual
-
 Dimplex ECR24FA
User Manual
Dimplex ECR24FA
User Manual
-
 Dimplex KTN20-AU
User Manual
Dimplex KTN20-AU
User Manual
-
 Dimplex LVT20-AU
User Manual
Dimplex LVT20-AU
User Manual
-
 Dimplex MCFSTV12-AU
User Manual
Dimplex MCFSTV12-AU
User Manual
-
 Dimplex ML2TSFA
User Manual
Dimplex ML2TSFA
User Manual
-
 Dimplex MOCCA
User Manual
Dimplex MOCCA
User Manual
-
 Dimplex MWDS15-AU
User Manual
Dimplex MWDS15-AU
User Manual
-
 Dimplex OAKHURST
User Manual
Dimplex OAKHURST
User Manual
-
 Dimplex OCR15FA
User Manual
Dimplex OCR15FA
User Manual
-
 Dimplex OCR15TIF
User Manual
Dimplex OCR15TIF
User Manual
-
 Dimplex OFC2400TI
User Manual
Dimplex OFC2400TI
User Manual
-
 Dimplex OFC2400TIF
User Manual
Dimplex OFC2400TIF
User Manual
-
 Dimplex OFRC15TFNW
User Manual
Dimplex OFRC15TFNW
User Manual
-
 Dimplex OFRC24TIR
User Manual
Dimplex OFRC24TIR
User Manual
-
 Dimplex PEMBERLEY
User Manual
Dimplex PEMBERLEY
User Manual