Page 3 - IMPORTANT SAFETY INSTRUCTIONS; SAVE THESE INSTRUCTIONS.
2 IMPORTANT SAFETY INSTRUCTIONS SAVE THESE INSTRUCTIONS. WARNING! To reduce the risk of fire, electric shock, or injury: 1. Do not leave appliance unattended when plugged in. Unplug from outlet when not in use and before servicing. 2. WARNING: ELECTRIC SHOCK COULD OCCUR IF USED OUTDOORS OR ON WET SU...
Page 4 - Grounding Instructions
3 Grounding Instructions This appliance must be grounded. If it should malfunction or break down, grounding provides a path of least resistance for electric current to reduce the risk of electric shock. This appliance is equipped with a cord having an equipment-grounding conductor and grounding plug...
Page 5 - Parts Identification
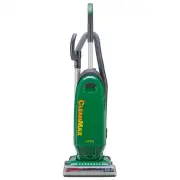
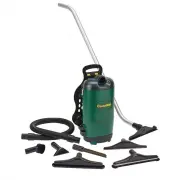
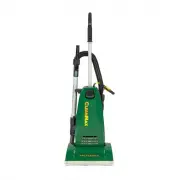
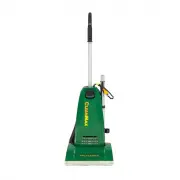
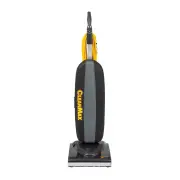
On/off pedal Bag compartment cover latch Furniture guard Metal cord hook Telescopic wand Hose handle release button Nozzle hose Pigtail cord Power cord Easy-carry handle Handle release pedal Hose handle Cord storage hooks Quick clean-out port Crevice tool Dusting brush • Genuine CleanMax Paper Bags ...
Page 6 - How to Assemble and Operate the Vacuum; How to Adjust the Handle
How to Attach the Handle to the Vacuum Cleaner The vacuum and the handle are packed separately. 1. After first removing the handle screw, slide the handle into the slot on top of the vacuum cleaner. 2. Line up the small hole on the handle with the small hole on the vacuum cleaner and insert the scre...
Page 7 - How to Change the Vacuum Bag; Nozzle Height Feature; Edge Cleaning Feature; How to Attach the Extension Power Cord
Always operate the vacuum cleaner with a vacuum bag installed.Bags should be changed when they are 2/3 full. How to Change the Vacuum Bag 1. Unplug the vacuum cleaner. Remove the bag compartment cover (Fig. 1). 2. Remove the bag from the bag holder by grasping the sides of the bag collar and pulling...
Page 8 - Cleaning with On-Board Tools; How to Change the Filters
7 Your vacuum cleaner is equipped with on-board cleaning tools, including a telescopic wand, stretch hose, dusting brush and a crevice tool. 1. To use the cleaning tools, lift the hose handle straight up from the vacuum (Fig. 1). 2. Extend the wand by pulling the button back and pulling the smaller ...
Page 9 - How to Replace the Vacuum Belt
8 CAUTION: First unplug the vacuum cleaner. How to Remove the Bottom Plate 1. Place the vacuum cleaner in the lowest position by stepping on the handle release pedal (see “How to Adjust the Handle” on page 5). Turn the vacuum over on a flat surface, exposing the bottom plate. 2. Remove the five scre...
Page 10 - Thermal Motor Protection
9 Thermal Motor Protection Your CleanMax vacuum cleaner is equipped with a thermal protector designed to protect your vacuum cleaner from overheating due to restricted airflow (i.e. clogged hose). Should this situation occur, the thermal protector will automatically shut off the motor to prevent dam...
Page 11 - For Best Performance
10 • Keep machine and all accessories clean and in good operating condition. • Replace the bag when it is 2/3 full. • Replace the filters once a year or as needed. • Always use genuine CleanMax filters and parts, as use of other products may result in poor cleaning or filtration performance. CleanMa...
Page 12 - Warranty
LEAN M AX C What Is Covered: This warranty covers any defects in material and workmanship in your new CleanMax vacuum. How Long Coverage Lasts: Warranty coverage for the CleanMax vacuum lasts one year. What Is Not Covered: • Damage to the vacuum that occurs from neglect, abuse, alterations, accident...