Chef EOC647S - Manuals
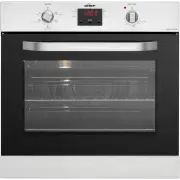
User Manual Chef EOC647S


Summary
The symbols you will see in this booklet have these meanings: WARNING warning Indicates information concerning your personal safety WARNING caution Indicates information on how to avoid damaging the appliance TIPS & INFORMATION tips & information Indicates tips and information about use of t...
general safety Built-in Cooking GENERAL SAFETY 3 an important read to avoid an electric shock or fire Meanings of symbols used in this manual are shown below: This symbol indicates never to do this This symbol indicates always do this The appliance is NOT suitable for use by children, without superv...
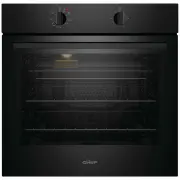
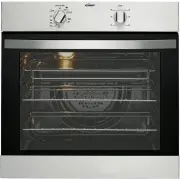
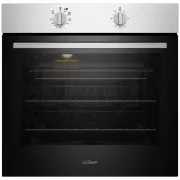
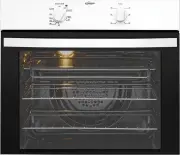
description of your appliance Model: eoC617 underbench oven Conventional Oven/Grill Temperature Selector One Hour Timer Oven/Grill Temperature Selector One Hour Timer Oven Temperature Selector Grill Temperature Selector One Hour Timer Oven Indicator Light Grill Indicator Light Oven Indicator Light G...
Chef Ovens Manuals
-
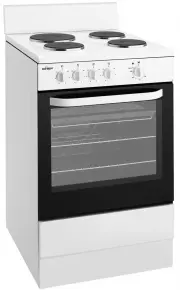 Chef CFE532WA
User Manual
Chef CFE532WA
User Manual
-
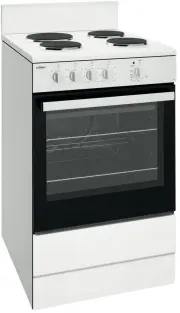 Chef CFE532WB
User Manual
Chef CFE532WB
User Manual
-
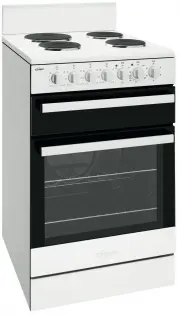 Chef CFE535WB
User Manual
Chef CFE535WB
User Manual
-
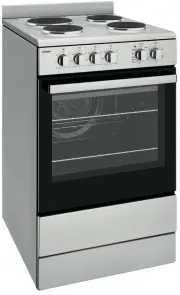 Chef CFE536SB
User Manual
Chef CFE536SB
User Manual
-
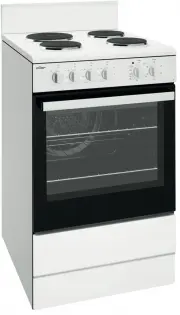 Chef CFE536WB
User Manual
Chef CFE536WB
User Manual
-
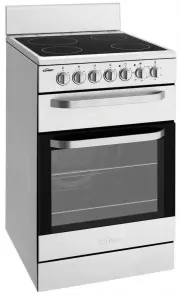 Chef CFE547SA
User Manual
Chef CFE547SA
User Manual
-
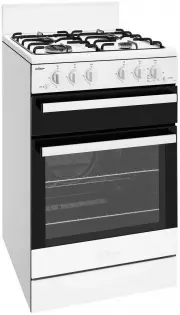
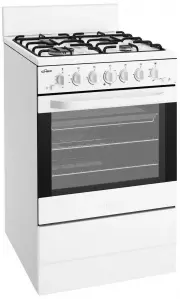
 Chef CFG503WBLP
User Manual
Chef CFG503WBLP
User Manual
-
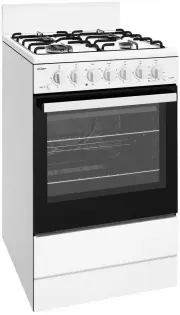
 Chef CFG503WBNG
User Manual
Chef CFG503WBNG
User Manual
-
 Chef CFG504WA
User Manual
Chef CFG504WA
User Manual
-
 Chef CFG504WBNG
User Manual
Chef CFG504WBNG
User Manual
-
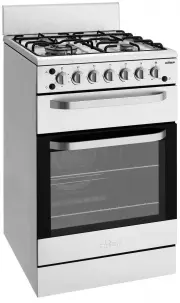 Chef CFG517SA
User Manual
Chef CFG517SA
User Manual
-
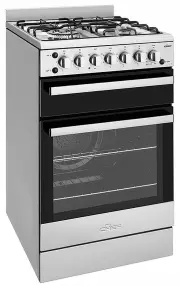 Chef CFG517SBNG
User Manual
Chef CFG517SBNG
User Manual
-
 Chef CVE612DB
User Manual
Chef CVE612DB
User Manual
-
 Chef CVE612SA
User Manual
Chef CVE612SA
User Manual
-
 Chef CVE612SB
User Manual
Chef CVE612SB
User Manual
-
 Chef CVE612WA
User Manual
Chef CVE612WA
User Manual
-
 Chef CVE612WB
User Manual
Chef CVE612WB
User Manual
-
 Chef CVE614DB
User Manual
Chef CVE614DB
User Manual
-
 Chef CVE662SA
User Manual
Chef CVE662SA
User Manual
-
 Chef CVE662SB
User Manual
Chef CVE662SB
User Manual