Bosch HBM43B250A - Manuals
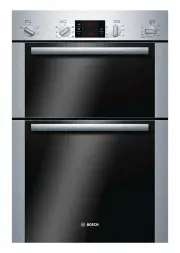
User Manual Bosch HBM43B250A


Summary
3 Ú Table of contents [en]Instruction manual Important safety information ..................................................... 3 Causes of damage ............................................................................. 5 Your new oven ..............................................................
4 Children must not play with the appliance. Children must not clean the appliance or carry out general maintenance unless they are at least 8 years old and are being supervised.Keep children below the age of 8 years old at a safe distance from the appliance and power cable.Always slide accessories ...
5 Causes of damage Caution! ■ Accessories, foil, greaseproof paper or ovenware on the cooking compartment floor: do not place accessories on the cooking compartment floor. Do not cover the cooking compartment floor with any sort of foil or greaseproof paper. Do not place ovenware on the cooking comp...
Bosch Ovens Manuals
-
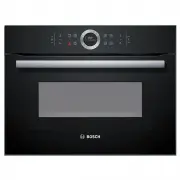 Bosch CMG633BB1A
User Manual
Bosch CMG633BB1A
User Manual
-
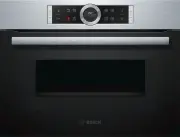 Bosch CMG633BS1B
User Manual
Bosch CMG633BS1B
User Manual
-
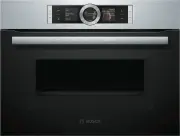 Bosch CMG656RS1A
User Manual
Bosch CMG656RS1A
User Manual
-
 Bosch CMG7241B1A
User Manual
Bosch CMG7241B1A
User Manual
-
 Bosch CMG936AB1A
User Manual
Bosch CMG936AB1A
User Manual
-
 Bosch CMG978NB1A
User Manual
Bosch CMG978NB1A
User Manual
-
 Bosch CSG656RB1A
User Manual
Bosch CSG656RB1A
User Manual
-
 Bosch CSG656RS1A
User Manual
Bosch CSG656RS1A
User Manual
-
 Bosch CSG656RS2A
User Manual
Bosch CSG656RS2A
User Manual
-
 Bosch CSG958DB1
User Manual
Bosch CSG958DB1
User Manual
-
 Bosch HBA11B150A
User Manual
Bosch HBA11B150A
User Manual
-
 Bosch HBA13B150A
User Manual
Bosch HBA13B150A
User Manual
-
 Bosch HBA13B253A
User Manual
Bosch HBA13B253A
User Manual
-
 Bosch HBA172BB0A
User Manual
Bosch HBA172BB0A
User Manual
-
 Bosch HBA172BS0A
User Manual
Bosch HBA172BS0A
User Manual
-
 Bosch HBA22B250E
User Manual
Bosch HBA22B250E
User Manual
-
Bosch HBA22B250E
Installation Manual
-
 Bosch HBA22R251E
User Manual
Bosch HBA22R251E
User Manual
-
Bosch HBA22R251E
Installation Manual
-
 Bosch HBA23B160R
User Manual
Bosch HBA23B160R
User Manual