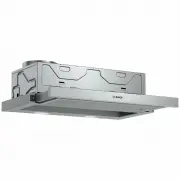
Bosch DFS097A51A - Manuals
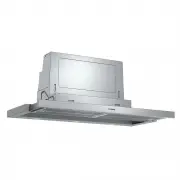
User Manual Bosch DFS097A51A


Summary
en Safety 2 Table of contents USER MANUAL 1 Safety .................................................................... 2 2 Avoiding material damage................................... 4 3 Environmental protection and saving en-ergy ....................................................................
Safety en 3 Toxic gases from the flue or the extractionshaft are sucked back into the living space. ▶ Always ensure adequate fresh air in theroom if the appliance is being operated inexhaust air mode at the same time as aroom air-dependent heat-producing appli-ance is being operated. ▶ It is only p...
en Avoiding material damage 4 WARNING ‒ Risk of electric shock! If the appliance or the power cord is dam-aged, this is dangerous. ▶ Never operate a damaged appliance. ▶ Never pull on the power cord to unplug theappliance. Always unplug the appliance atthe mains. ▶ If the appliance or the power cor...
Bosch Range Hoods Manuals
-
 Bosch DBB67AM60A
User Manual
Bosch DBB67AM60A
User Manual
-
Bosch DBB67AM60A
Installation Manual
-
 Bosch DBB97AM60A
User Manual
Bosch DBB97AM60A
User Manual
-
Bosch DBB97AM60A
Installation Manual
-
 Bosch DDW88MM66
User Manual
Bosch DDW88MM66
User Manual
-
 Bosch DFM064W50A
User Manual
Bosch DFM064W50A
User Manual
-
 Bosch DFM064W54A
User Manual
Bosch DFM064W54A
User Manual
-
 Bosch DFS067A51A
User Manual
Bosch DFS067A51A
User Manual
-
 Bosch DFS097A50A
User Manual
Bosch DFS097A50A
User Manual
-
 Bosch DHL555BAU
User Manual
Bosch DHL555BAU
User Manual
-
 Bosch DHL575CAU
User Manual
Bosch DHL575CAU
User Manual
-
 Bosch DHL755BUC
User Manual
Bosch DHL755BUC
User Manual
-
Bosch DHL755BUC
Manual
-
 Bosch DHL785BAU
User Manual
Bosch DHL785BAU
User Manual
-
 Bosch DHL895DAU
User Manual
Bosch DHL895DAU
User Manual
-
 Bosch DLN54AA70A
User Manual
Bosch DLN54AA70A
User Manual
-
 Bosch DPH30652UC
User Manual
Bosch DPH30652UC
User Manual
-
Bosch DPH30652UC
Manual
-
 Bosch DPH36652UC
User Manual
Bosch DPH36652UC
User Manual
-
Bosch DPH36652UC
Manual