Bosch DBB97AM60A - Manuals

Bosch DBB97AM60A Range Hood – User Manual, Installation Manual in PDF format online.
Manuals:
User Manual Bosch DBB97AM60A


Summary
en Safety 2 Table of contents INFORMATION FOR USE 1 Safety .................................................................... 2 2 Avoiding material damage................................... 4 3 Environmental protection and saving en-ergy ............................................................
Safety en 3 WARNING ‒ Risk of poisoning! Risk of poisoning from flue gases beingdrawn back in. Room-air-dependent heat-pro-ducing appliances (e.g. gas, oil, wood or coal-operated heaters, continuous flow heaters orwater heaters) obtain combustion air from theroom in which they are installed and dis...
en Avoiding material damage 4 The light emitted by LED lights is verydazzling, and can damage the eyes (riskgroup 1). ▶ Do not look directly into the switched-onLED lights for longer than 100 seconds. WARNING ‒ Risk of electric shock! If the appliance or the power cord is dam-aged, this is dangerou...
Installation Manual Bosch DBB97AM60A


Summary
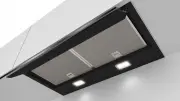
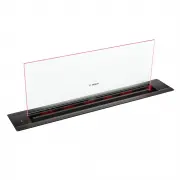
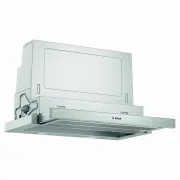
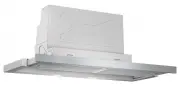
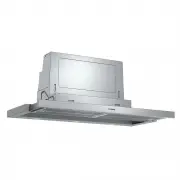
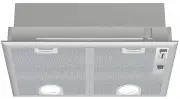
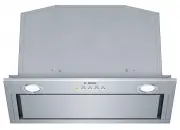
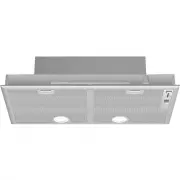
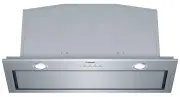
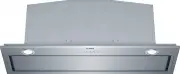
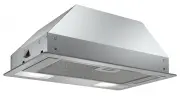
Because you can never have too much space. Our new integrated rangehood with foldout glass visor is more space efficient with a new compact design providing you with extra storage possibilities – and not just for spices. The T-shaped body of the rangehood itself serves as storage space and can hold ...
Seamless integration.Prefer a minimalist design? Thanks to the unique installation method, the Integrated GlassVisor Rangehood sits flush in the bottom of the cabinet, making it almost invisible. The glass control panel can also be folded under the rangehood out of sight when not in use. LED-illumin...
DBB67AM60A 60cm Integrated GlassVisor Rangehood Key Features ▶ 3 power settings plus intensive setting ▶ 749m³/h maximum extraction capacity (intensive setting)* ▶ Space efficient, compact design with extra storage possibilities on the rangehood, up to max.10kg storage weight per side ▶ Glass panel ...
Bosch Range Hoods Manuals
-
 Bosch DBB67AM60A
User Manual
Bosch DBB67AM60A
User Manual
-
Bosch DBB67AM60A
Installation Manual
-
 Bosch DDW88MM66
User Manual
Bosch DDW88MM66
User Manual
-
 Bosch DFM064W50A
User Manual
Bosch DFM064W50A
User Manual
-
 Bosch DFM064W54A
User Manual
Bosch DFM064W54A
User Manual
-
 Bosch DFS067A51A
User Manual
Bosch DFS067A51A
User Manual
-
 Bosch DFS097A50A
User Manual
Bosch DFS097A50A
User Manual
-
 Bosch DFS097A51A
User Manual
Bosch DFS097A51A
User Manual
-
 Bosch DHL555BAU
User Manual
Bosch DHL555BAU
User Manual
-
 Bosch DHL575CAU
User Manual
Bosch DHL575CAU
User Manual
-
 Bosch DHL755BUC
User Manual
Bosch DHL755BUC
User Manual
-
Bosch DHL755BUC
Manual
-
 Bosch DHL785BAU
User Manual
Bosch DHL785BAU
User Manual
-
 Bosch DHL895DAU
User Manual
Bosch DHL895DAU
User Manual
-
 Bosch DLN54AA70A
User Manual
Bosch DLN54AA70A
User Manual
-
 Bosch DPH30652UC
User Manual
Bosch DPH30652UC
User Manual
-
Bosch DPH30652UC
Manual
-
 Bosch DPH36652UC
User Manual
Bosch DPH36652UC
User Manual
-
Bosch DPH36652UC
Manual
-
 Bosch DUH30252UC
User Manual
Bosch DUH30252UC
User Manual