Bort BSS-1415-W - Manuals

User Manual Bort BSS-1415-W


Summary
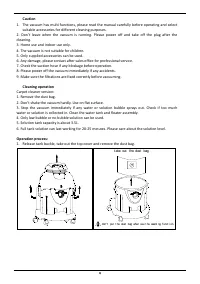
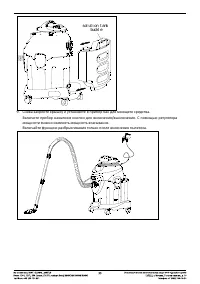
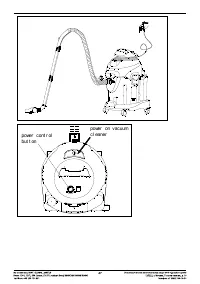
Caution 1. The vacuum has multi functions, please read the manual carefully before operating and select suitable accessories for different cleaning purposes. 2. Don’t leave when the vacuum is running. Please power off and take off the plug after the cleaning. 3. Home use and indoor use only. 4. The ...
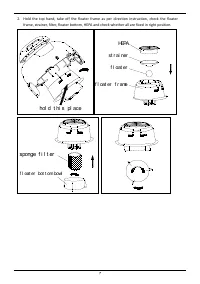
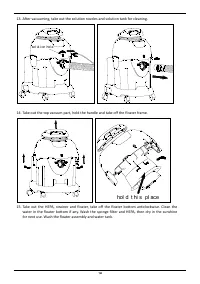
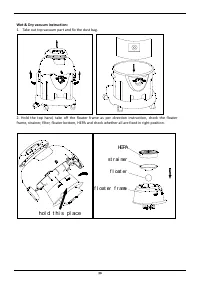
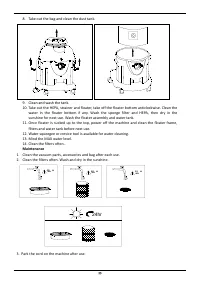
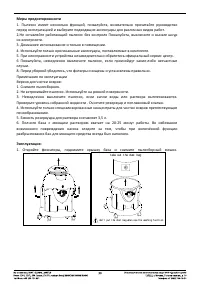
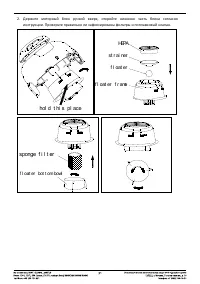
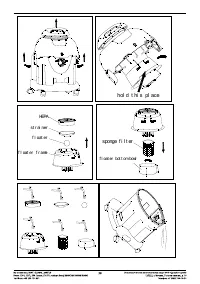
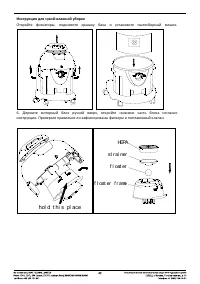
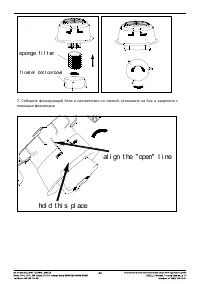
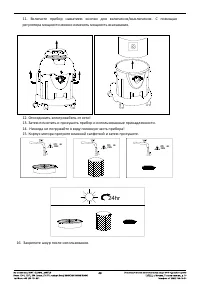
2. Hold the top hand, take off the floater frame as per direction instruction, check the floater frame, strainer, filter, floater bottom, HEPA and check whether all are fixed in right position. hol d t hi s pl ace HEPA st r ai ner f l oat er f l oat er f r ame sponge f i l t er f l oat er bot t om b...
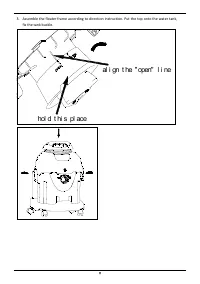
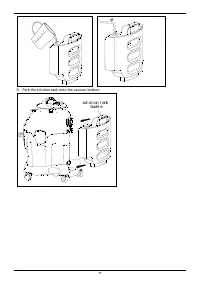
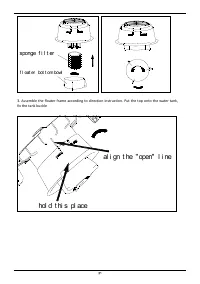
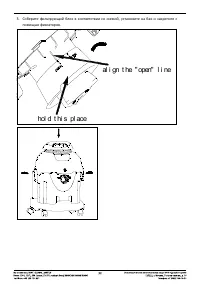
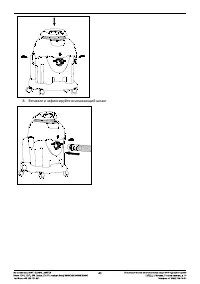
3. Assemble the floater frame according to direction instruction. Put the top onto the water tank, fix the tank buckle. al i gn t he " open" l i ne hol d t hi s pl ace