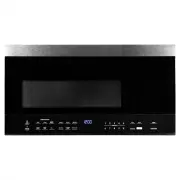
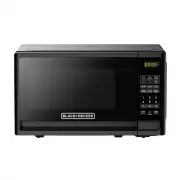
Black & Decker EM036AB14 - Manuals
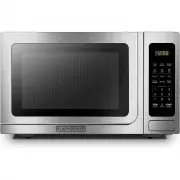
User Manual Black & Decker EM036AB14


Summary
EN-2 1450W 1000W Specifications EM03 Model:Rated Voltage:Rated Input Power(Microwave): Rated Output Power(Microwave):Oven Capacity:Turntable Diameter:External Dimensions:Net Weight: 12.4 inch 20.4 12.4 inch (519 430 315 mm) 16.9 33. Lbs (1 kg) 120V~ 60Hz 1. Cu.ft 3 PRECAUTIONS TO AVOID POSSIBLE EXPO...
EN-4 i) Do not overheat the liquid. ii) Stir the liquid both before and halfway through heating it. iii) Do not use straight-sided containers with narrow necks.iv) After heating, allow the container to stand in the microwave oven for a short time before removing the container. v) Use extreme care wh...
EN-5 CAUTION Personal Injury Hazard Tightly-closed could explode. Closed containers should be opened and plastic pouches should be pierced before cooking. 1. Fill a microwave-safe container with 1 cup of cold water (250ml) along with the container in question. 2. Cook on maximum power for 1 minute. ...
Black & Decker Microwaves Manuals
-
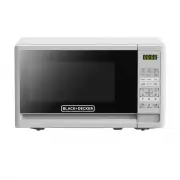
 Black & Decker EM031MB11
User Manual
Black & Decker EM031MB11
User Manual
-
 Black & Decker EM031MFOP1
User Manual
Black & Decker EM031MFOP1
User Manual
-
 Black & Decker EM031MGGX2
User Manual
Black & Decker EM031MGGX2
User Manual
-
 Black & Decker EM044K6BBP1
User Manual
Black & Decker EM044K6BBP1
User Manual
-
 Black & Decker EM044KINP10A
User Manual
Black & Decker EM044KINP10A
User Manual
-
 Black & Decker EM044KJN-P2
User Manual
Black & Decker EM044KJN-P2
User Manual
-
 Black & Decker EM053K6BE
User Manual
Black & Decker EM053K6BE
User Manual
-
 Black & Decker EM262AMY-PHB
User Manual
Black & Decker EM262AMY-PHB
User Manual
-
 Black & Decker EM720CB7
User Manual
Black & Decker EM720CB7
User Manual
-
 Black & Decker EM720CFOB
User Manual
Black & Decker EM720CFOB
User Manual
-
 Black & Decker EM720CFOW
User Manual
Black & Decker EM720CFOW
User Manual
-
 Black & Decker EM925AB9
User Manual
Black & Decker EM925AB9
User Manual
-
 Black & Decker EM925ACP-P2
User Manual
Black & Decker EM925ACP-P2
User Manual
-
 Black & Decker EM925ACPX1
User Manual
Black & Decker EM925ACPX1
User Manual