Page 2 - Table of contents; Signs and symbols; Getting to know your device; Principle of air cleaning
14 1. Getting to know your device................... 142. Intended use ............................................ 153. Notes ........................................................ 154. Device description ................................... 175. Initial use ..........................................
Page 3 - Electric shock; WARNING
15 A relative humidity of between 40 and 60% is generally recommended. This value is often not reached in winter when cold air enters living spaces that are being aired and is then warmed up. Air can absorb more humidity in line with increasing air temperature. The air tries to compensate by taking ...
Page 4 - Repairs; Risk of fire; Handling; IMPORTANT
16 • Ensure that the openings of the Air purifier and the mains cable do not come into contact with water, steam or other liquids. • Do not use the device in close proximity to flammable or explosive gas mixtures. • Never reach for a device that has been submerged in water. Disconnect it from the ma...
Page 5 - Device description; Display and buttons
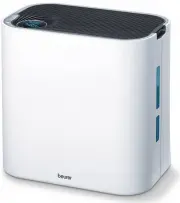
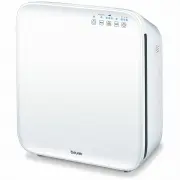
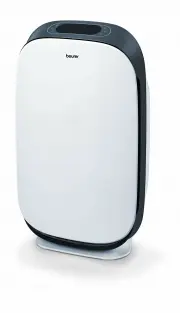
17 4. Device description 1 Housing cover 7 Pre-filter Filters coarse dust and dirt, such as hairs 2 Water tank and screwed plug 8 Filter cover 3 Air outlet 9 Mains cable 4 Illuminated display 10 Disc set 5 Air inlet 11 Tray 6 combi filter (activated carbon/HEPA filter class E 10) Activated carbon fi...
Page 6 - Removing the air purifier; the plastic film and re-insert the combi filter and prefilter.; Setting up the air purifier; tension and increases evaporation output.
18 5. Initial use 5.1 Removing the air purifier 1. Open the cardboard packaging.2. Remove the device from the top of the box without opening the film bag.3. Now remove all films and the transport lock of the disc set (in the tray). Ensure that you remove all the foam padding from the disc set. Remov...
Page 8 - Replacing the combi filter and pre-filter; Cleaning and storage; Cleaning the filter; Front
20 6. Close the water tank again. Ensure that the screwed plug is screwed on correctly and the water tank is sealed shut. 7. Carefully place the water tank back into the housing from above.8. Replace the top housing cover back onto the housing.9. Connect the mains plug to the socket and ensure that ...
Page 9 - Before you can pull the tray out for cleaning, you must
21 6. Close the water tank again. Ensure that the screwed plug is screwed on correctly and the water tank is sealed shut. 7. Carefully place the water tank back into the housing from above.8. Replace the top housing cover back onto the housing.9. Connect the mains plug to the socket and ensure that ...
Page 10 - Replacement parts and wearing parts; Designation
22 8. What if there are problems? Problem Cause Solution The air purifier will not switch on. There is no water in the tray. Fill up the water tank as described in chapter 6.5. The mains part plug is not plugged in. Plug the mains part plug into a suit- able socket. Clicking sounds are heard during ...