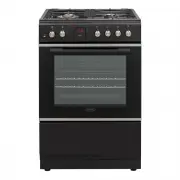
Belling BMR60DOINDB - Manuals
User Manual Belling BMR60DOINDB


Summary
2 Dear Customer, Congratulations on the purchase of your new product from Belling . We recommend you please take some time to read the instruction manual thoroughly to familiarise yourself with the functionality and operations to ensure optimum performance of your new appliance. After reading the ma...
3 CONTENTS PRODUCT / INSTALLER DETAILS 4 WARNINGS & PRECAUTIONS 5 - 8 Safety precautions 5 Other Important Safety Information 6 Warning for Use of Grill, Oven & Appliance Hob 6 Installation Warnings 7 Cleaning & Service Warnings 8 Cut Hazard 8 Electrical Shock Hazard 8 Disposal of your o...
4 PRODUCT / INSTALLER DETAILS For future reference we suggest that you staple a copy of your purchase receipt here and complete the below so the information is always at hand. PRODUCT DETAILS Model number: Description: Serial number: (Located on the product rating label) Telephone number: Telephone ...
Belling Ovens Manuals
-
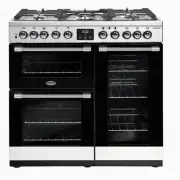
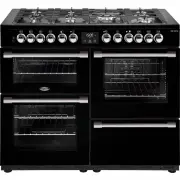 Belling BCC1100DFB
User Manual
Belling BCC1100DFB
User Manual
-
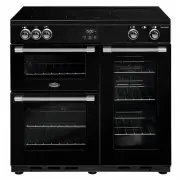
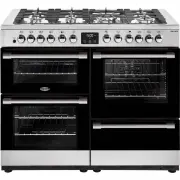 Belling BCC1100DFSS
User Manual
Belling BCC1100DFSS
User Manual
-
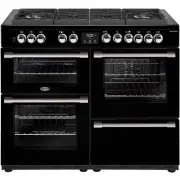 Belling BCC1100GTGB
User Manual
Belling BCC1100GTGB
User Manual
-
 Belling BCC1100GTGSS
User Manual
Belling BCC1100GTGSS
User Manual
-
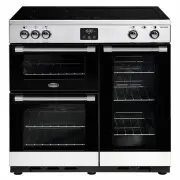
 Belling BCC1100IB
User Manual
Belling BCC1100IB
User Manual
-
 Belling BCC1100ISS
User Manual
Belling BCC1100ISS
User Manual
-
 Belling BCC900DFB
User Manual
Belling BCC900DFB
User Manual
-
 Belling BCC900DFSS
User Manual
Belling BCC900DFSS
User Manual
-
 Belling BCC900GTGB
User Manual
Belling BCC900GTGB
User Manual
-
 Belling BCC900GTGSS
User Manual
Belling BCC900GTGSS
User Manual
-
 Belling BCC900IB
User Manual
Belling BCC900IB
User Manual
-
 Belling BCC900ISS
User Manual
Belling BCC900ISS
User Manual
-
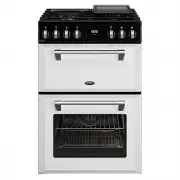
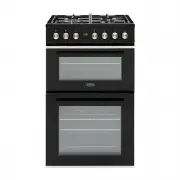 Belling BFS54DOGG
User Manual
Belling BFS54DOGG
User Manual
-
 Belling BFS60DODF
User Manual
Belling BFS60DODF
User Manual
-
 Belling BFS60DOGG
User Manual
Belling BFS60DOGG
User Manual
-
 Belling BFS60SCCER
User Manual
Belling BFS60SCCER
User Manual
-
 Belling BFS60SCDF
User Manual
Belling BFS60SCDF
User Manual
-
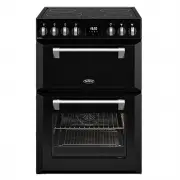
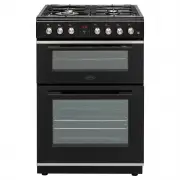
 Belling BMR60DODFB
User Manual
Belling BMR60DODFB
User Manual
-
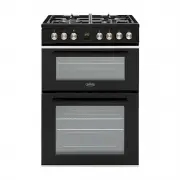
 Belling BMR60DODFW
User Manual
Belling BMR60DODFW
User Manual
-
 Belling BMR60DOINDW
User Manual
Belling BMR60DOINDW
User Manual