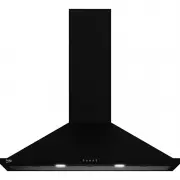
Beko CWB9403X - Manuals
User Manual Beko CWB9403X


Summary
Please read this user manual first! Dear Customer, Thank you for prefering a Beko product. We hope that you get the best results from your product which has been manufactured with high quality and state-of-the-art technology. Therefore, please read this entire user manual and all other accompanying ...
3 / 11 EN TABLE OF CONTENTS 1 General 4 2 Safety Precaution 5 1.1 Before connecting the model to the electricity network:. . . . . . . . . . . . . . . . . . . . . . . . . . . . . 5 1.2 Warning! . . . . . . . . . . . . . . . . . . . . . . . . . . . . 5 3 Your Hood 6 2.1 Technical Specifications . . ....
4 / 11 EN 1 General Carefully read the following important information regarding installation safety and maintenance. Keep this information booklet accessible for further con-sultations. The appliance has been designed for use in the ducting version (air exhaust to the outside – Fig.1B), filtering v...
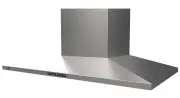
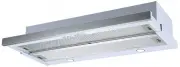
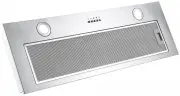
Beko Range Hoods Manuals
-
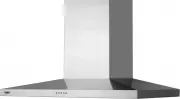
 Beko BHCB61632XH
User Manual
Beko BHCB61632XH
User Manual
-
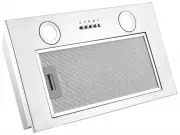 Beko BRH52UX
User Manual
Beko BRH52UX
User Manual
-
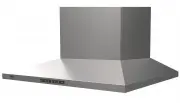 Beko BRH60CX
User Manual
Beko BRH60CX
User Manual
-
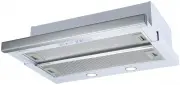 Beko BRH60TW
User Manual
Beko BRH60TW
User Manual
-
 Beko BRH70UX
User Manual
Beko BRH70UX
User Manual
-
 Beko BRH90CB
User Manual
Beko BRH90CB
User Manual
-
 Beko BRH90CX
User Manual
Beko BRH90CX
User Manual
-
 Beko BRH90TW
User Manual
Beko BRH90TW
User Manual
-
 Beko BRH90UX
User Manual
Beko BRH90UX
User Manual
-
 Beko CCB5140XA
User Manual
Beko CCB5140XA
User Manual
-
 Beko CCB7140XA
User Manual
Beko CCB7140XA
User Manual
-
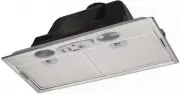
 Beko CTB 6407 W (X)
User Manual
Beko CTB 6407 W (X)
User Manual
-
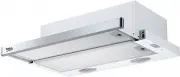
 Beko CTB6250XA
User Manual
Beko CTB6250XA
User Manual
-
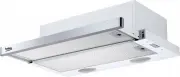
 Beko CTB6407X
User Manual
Beko CTB6407X
User Manual
-
 Beko CTB9250XA
User Manual
Beko CTB9250XA
User Manual
-
 Beko CWB 6420 W
User Manual
Beko CWB 6420 W
User Manual
-
 Beko CWB 6420 X
User Manual
Beko CWB 6420 X
User Manual
-
 Beko CWB 6550 X
User Manual
Beko CWB 6550 X
User Manual
-
 Beko CWB 6660 X
User Manual
Beko CWB 6660 X
User Manual
-
Beko CWB 9550 X
User Manual