Beko CCB5140XA - Manuals

User Manual Beko CCB5140XA


Summary
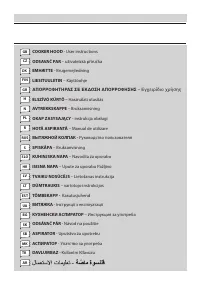
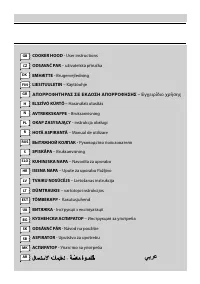
Please read this user manual first! Dear Customer, Thank you for prefering a Beko product. We hope that you get the best results from your product which has been manufactured with high quality and state-of-the-art technology. Therefore, please read this entire user manual and all other accompanying ...
4 / 11 EN Hood / User Manual 1 Recommendations and Suggestions Please review the following information. Failure to comply with these instructions may cause risk of personal injury or material damage. Any warranty or commitment of reliability shall be void. • Service life of the product you have purc...
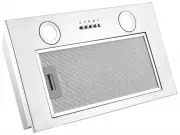
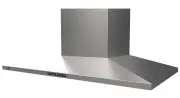
6 / 11 EN Hood / User Manual 2.1 Components 1 Hood body2 Aluminum filter3 Aluminum filter lock4 Light5 Control panel 2 Characteristics Width (mm) 702 Depth (mm) 284 Height (mm) 204 Supply voltage 220-240 V ~ 50 Hz Control 3 positions Suction power 420 m3/h Motor power 140 W Lamp power 2x28 W Total p...
Beko Range Hoods Manuals
-
 Beko BHCB61632XH
User Manual
Beko BHCB61632XH
User Manual
-
 Beko BRH52UX
User Manual
Beko BRH52UX
User Manual
-
 Beko BRH60CX
User Manual
Beko BRH60CX
User Manual
-
 Beko BRH60TW
User Manual
Beko BRH60TW
User Manual
-
 Beko BRH70UX
User Manual
Beko BRH70UX
User Manual
-
 Beko BRH90CB
User Manual
Beko BRH90CB
User Manual
-
 Beko BRH90CX
User Manual
Beko BRH90CX
User Manual
-
 Beko BRH90TW
User Manual
Beko BRH90TW
User Manual
-
 Beko BRH90UX
User Manual
Beko BRH90UX
User Manual
-
 Beko CCB7140XA
User Manual
Beko CCB7140XA
User Manual
-
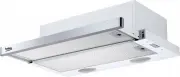
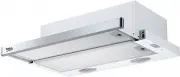
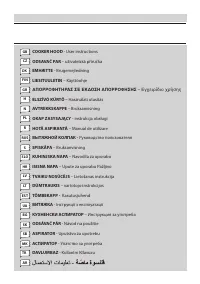
 Beko CTB 6407 W (X)
User Manual
Beko CTB 6407 W (X)
User Manual
-
 Beko CTB6250XA
User Manual
Beko CTB6250XA
User Manual
-
 Beko CTB6407X
User Manual
Beko CTB6407X
User Manual
-
 Beko CTB9250XA
User Manual
Beko CTB9250XA
User Manual
-
 Beko CWB 6420 W
User Manual
Beko CWB 6420 W
User Manual
-
 Beko CWB 6420 X
User Manual
Beko CWB 6420 X
User Manual
-
 Beko CWB 6550 X
User Manual
Beko CWB 6550 X
User Manual
-
 Beko CWB 6660 X
User Manual
Beko CWB 6660 X
User Manual
-
Beko CWB 9550 X
User Manual
-
 Beko CWB 9610 X
User Manual
Beko CWB 9610 X
User Manual