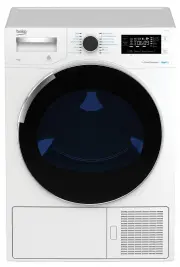
Beko BDPB904HG - Manuals
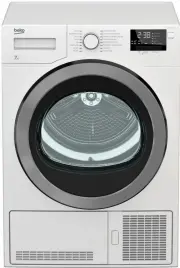
User Manual Beko BDPB904HG


Summary
This product was manufactured using the latest technology in environmentally friendly conditions Dear Customer, Please read this guide prior to use this product! Thank you for choosing Beko product. We would like you to achieve the optimal efficiency from this high quality product which has been man...
5 Dryer / User Manual 1 Safety Instructions This section includes the safety instructions necessary to prevent the risk of personal injury or material damage. • Our company shall not be held responsible for damages that may occur if these instructions are not observed. • Installation and repair oper...
7 Dryer / User Manual 1.5 Installing safety • To prepare the product ready for installation, ensure that the electrical installation and water drain is proper by checking the information in the user manual. If it is not suitable for installation, call a qualified electrician and plumber to arrange t...
Beko Dryers Manuals
-
 Beko B3T47238
User Manual
Beko B3T47238
User Manual
-
 Beko BDP700W
User Manual
Beko BDP700W
User Manual
-
 Beko BDP710W
User Manual
Beko BDP710W
User Manual
-
 Beko BDP810W
User Manual
Beko BDP810W
User Manual
-
 Beko BDP83HW
User Manual
Beko BDP83HW
User Manual
-
 Beko BDPB802SW
User Manual
Beko BDPB802SW
User Manual
-
 Beko BDPB904HW
User Manual
Beko BDPB904HW
User Manual
-
 Beko BDV70WG
User Manual
Beko BDV70WG
User Manual
-
 Beko DCU 7230
User Manual
Beko DCU 7230
User Manual
-
 Beko DCY7402GXB2
User Manual
Beko DCY7402GXB2
User Manual
-
 Beko DU 7111 GAW
User Manual
Beko DU 7111 GAW
User Manual
-
 Beko DV6120X
User Manual
Beko DV6120X
User Manual