Page 2 - Steps To Test Run Before Installation; Installation Overview; Possible Tools Needed:
Steps To Test Run Before Installation IMPORTANT! Wear gloves to protect against sharp edges. PLEASE FOLLOW THESE INSTRUCTIONS TO TEST THE RANGE HOOD BEFORE INSTALLATION FOR ANY DEFECTS OR SHIPPING DAMAGE: 1. Remove the range hood and accessories from the package carefully. 2. Place the range hood on...
Page 4 - IMPORTANT SAFETY INSTRUCTIONS; TO REDUCE THE RISK OF A RANGE TOP GREASE FIRE:; Read and Save These Instructions
4 IMPORTANT SAFETY INSTRUCTIONS TO REDUCE THE RISK OF FIRE, ELECTRIC SHOCK OR PERSONAL INJURY, PLEASE READ THE FOLLOWING CAREFULLY BEFORE ATTEMPTING TO ASSEMBLE, INSTALL, OPERATE OR MAINTAIN THE RANGE HOOD: • Always disconnect, lock and tag the power source before installing or servicing the range h...
Page 5 - Venting Requirements; DO; Venting System Setup:; INSTALLATION
5 Venting Requirements DO • Have the venting system go vertically from the range hood to the roof if possible. • Have 24"-30" distance between the cooktop and the range hood. 27" is recommended. • Use uniformed duct of 6" round duct or 3-1/4 x 10” rectangular duct or larger. • Use me...
Page 6 - Electrical Requirements:
6 IMPORTANT! • If long duct run is needed, increase the duct size from 6" to 7" or 8" to 9". • If a reducer is needed, use a long reducer instead of a pancake reducer and install it as far away from the range hood as possible. Reducing the duct size will restrict and decrease the spe...
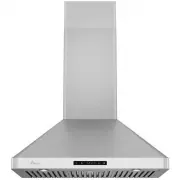
Page 7 - Installing the Range Hood
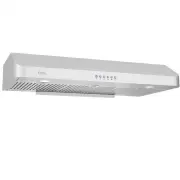
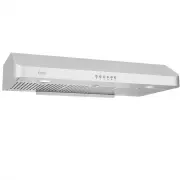
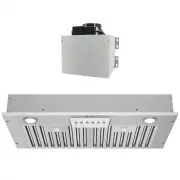
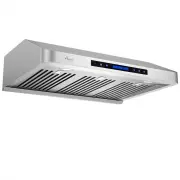
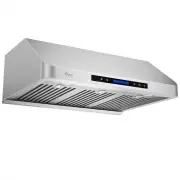
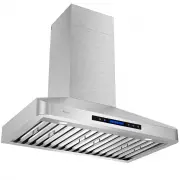
7 INSTALLATION Installing the Range Hood • For installing under the cabinet with recessed bottom, attach a 4" wide wood filler strip (not provided) on each side. • Use a stub finder to locate and mark 2 studs inside the wall. • Make 2 cutouts on the top and bottom of the cabinet that align with ...
Page 8 - Button; Low Speed; Range
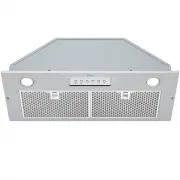
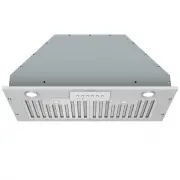
8 wire connectors. • Store the excess wires in the wiring box.• Reconnect the power. Installing the Baffle Filters • Peel off the protective film from the baffle filters if there's any. • Align the baffle filters with the range hood and install them from left to right. Completing the Installation Tu...
Page 9 - Cleaning; Cleaning the Exterior Surfaces:; Cleaning the Stainless Steel Baffle Filters:
9 higher when the oil has been used several times. • NEVER cook on “open” flames under the range hood. Check deep-fryers during use: Superheated oil may be flammable. Cleaning WARNING • To reduce the risk of electrical shock, DO NOT clean the hood while it's operating. • Never put your hands into th...
Page 10 - Before Calling for Service; Issue
10 Before Calling for Service Issue Possible Cause / Solution The range hood doesn't turn on • Check if the range hood is plugged in. Make sure that all power is turned ON, the fuse isn't blown and all electrical wirings are properly connected. The range hood turns on but the LED light doesn't • Rep...
Page 11 - Warranty
11 This product is warranted for a limited period of THREE YEARS Parts, begins from the date of purchase. This limited warranty is applied to the original retail purchaser and valid only for products purchased for home use in the continental United States of America. This limited warranty is non-tra...