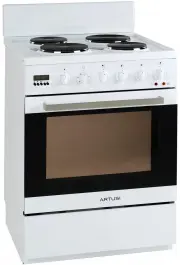
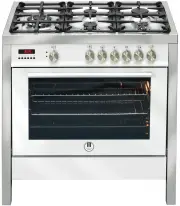
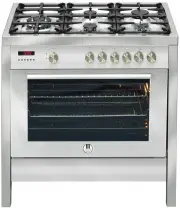
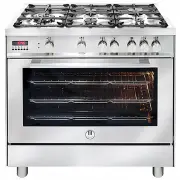
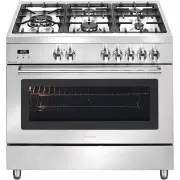
Artusi CAO888X - Manuals
User Manual Artusi CAO888X


Summary
SAFETY INSTRUCTIONS HOW TO SAVE ENERGY Using energy in a way not responsible only saves money but also helps the environment. So let’s save energy! And this is how you can do it. Make use of residual heat from the oven. If the cooking time is greater than 40minutes, switch off the oven 10 minutes be...
DESCRIPTION OF THE APPLIANCE DESCRIPTION OF THE APPLIANCE BEFORE USING FOR THE FIRST TIME After unpacking the appliance, check that it is not damaged. In case of doubt, do not use the appliance and contact your supplier or a qualified engineer. Remove all the packing materials (i.e. plastic bags, po...
Earthing wire should be installed in such manner to be the last one pulled out in case the safety relief device of the mains lead should fail . Mains lead behind the oven must be placed in such manner to avoidtouching the back panel of the oven because of the heat it develops during operation . The ...
Artusi Ovens Manuals
-
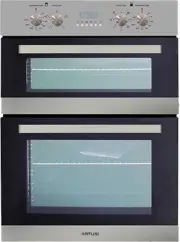
 Artusi ACSO45X
User Manual
Artusi ACSO45X
User Manual
-
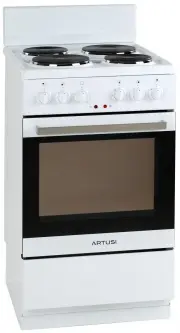
 Artusi AFC547W
User Manual
Artusi AFC547W
User Manual
-
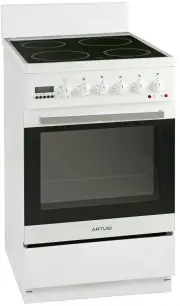
 Artusi AFC607B
User Manual
Artusi AFC607B
User Manual
-
 Artusi AFC607W
User Manual
Artusi AFC607W
User Manual
-
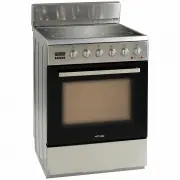 Artusi AFC607X
User Manual
Artusi AFC607X
User Manual
-
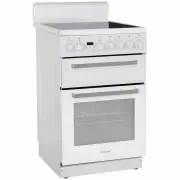 Artusi AFDC5470W
User Manual
Artusi AFDC5470W
User Manual
-
 Artusi AFDE5470W
User Manual
Artusi AFDE5470W
User Manual
-
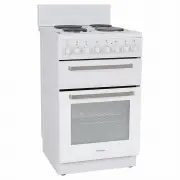
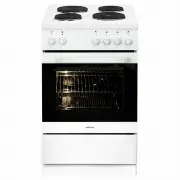
 Artusi AFE504W
User Manual
Artusi AFE504W
User Manual
-
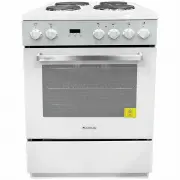
 Artusi AFE544W
User Manual
Artusi AFE544W
User Manual
-
 Artusi AFE547W
User Manual
Artusi AFE547W
User Manual
-
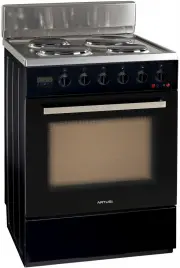 Artusi AFE607B
User Manual
Artusi AFE607B
User Manual
-
 Artusi AFE607W
User Manual
Artusi AFE607W
User Manual
-
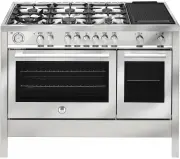 Artusi AFG1206X
User Manual
Artusi AFG1206X
User Manual
-
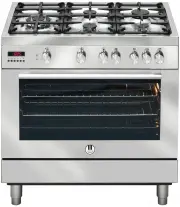 Artusi AFG900X
User Manual
Artusi AFG900X
User Manual
-
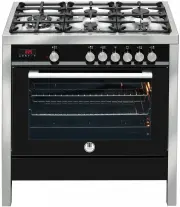 Artusi AFG910B
User Manual
Artusi AFG910B
User Manual
-
 Artusi AFG910W
User Manual
Artusi AFG910W
User Manual
-
 Artusi AFG910X
User Manual
Artusi AFG910X
User Manual
-
 Artusi AFG911X
User Manual
Artusi AFG911X
User Manual
-
 Artusi AFG915B
User Manual
Artusi AFG915B
User Manual
-
 Artusi AFG915X
User Manual
Artusi AFG915X
User Manual