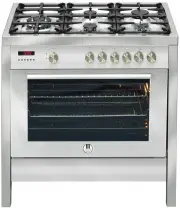
Artusi CAFI95X - Manuals
User Manual Artusi CAFI95X
1

2

3

4

5

6

7

8

9

10

11

12

13

14

15

16

17

18

19

20

21

22

23

24

25

26

27

28

29

30

31

32

33

34

35

36

37

38

39

40

41

42

43

44

45

46

47

48

49

50

51

52

53

54

55

56

57

58

59

60

61

62

63

64

65

66

67

68

69

70

Summary
Page 4 - ACKNOWLEDGMENT; WARNING; Do not use harsh abrasive cleaners or sharp metal scrapers
ACKNOWLEDGMENT Thank you for purchasing our product. We hope you enjoy using the many features and benefits it provides. Before using this product please study this entire Instruction Manual carefully. Keep this manual in a safe place for future reference. Ensure that other people using the product ...
Page 7 - IS
Page 8 - Installation instructions
Installation instructions 6 - 16 Instructions for use 17 - Installation instructions Safety precautions ........................................................................................7 Before installing ...........................................................................................
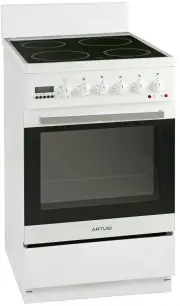
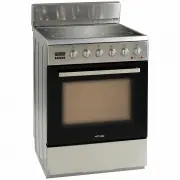
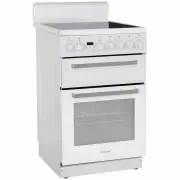
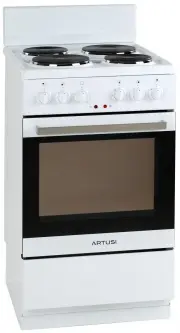
Artusi Ovens Manuals
-
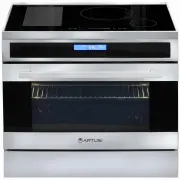
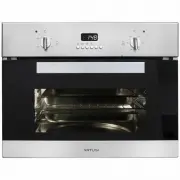 Artusi ACSO45X
User Manual
Artusi ACSO45X
User Manual
-
 Artusi AFC547W
User Manual
Artusi AFC547W
User Manual
-
 Artusi AFC607B
User Manual
Artusi AFC607B
User Manual
-
 Artusi AFC607W
User Manual
Artusi AFC607W
User Manual
-
 Artusi AFC607X
User Manual
Artusi AFC607X
User Manual
-
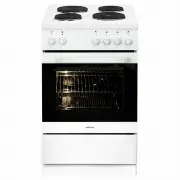
 Artusi AFDC5470W
User Manual
Artusi AFDC5470W
User Manual
-
 Artusi AFDE5470W
User Manual
Artusi AFDE5470W
User Manual
-
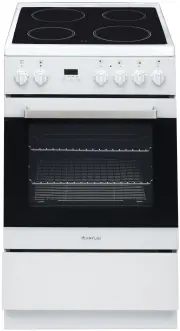
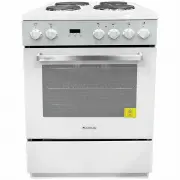
 Artusi AFE504W
User Manual
Artusi AFE504W
User Manual
-
 Artusi AFE544W
User Manual
Artusi AFE544W
User Manual
-
 Artusi AFE547W
User Manual
Artusi AFE547W
User Manual
-
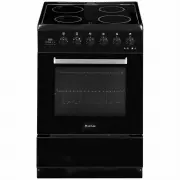
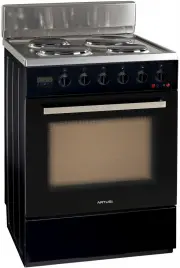 Artusi AFE607B
User Manual
Artusi AFE607B
User Manual
-
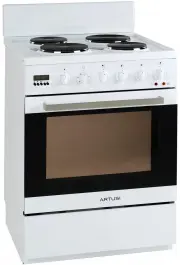 Artusi AFE607W
User Manual
Artusi AFE607W
User Manual
-
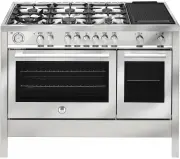 Artusi AFG1206X
User Manual
Artusi AFG1206X
User Manual
-
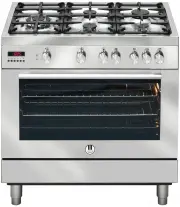 Artusi AFG900X
User Manual
Artusi AFG900X
User Manual
-
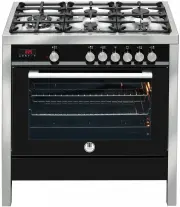 Artusi AFG910B
User Manual
Artusi AFG910B
User Manual
-
 Artusi AFG910W
User Manual
Artusi AFG910W
User Manual
-
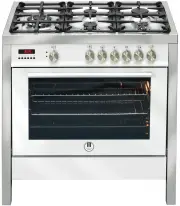
 Artusi AFG910X
User Manual
Artusi AFG910X
User Manual
-
 Artusi AFG911X
User Manual
Artusi AFG911X
User Manual
-
 Artusi AFG915B
User Manual
Artusi AFG915B
User Manual
-
 Artusi AFG915X
User Manual
Artusi AFG915X
User Manual