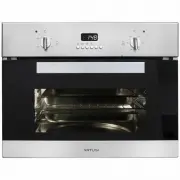
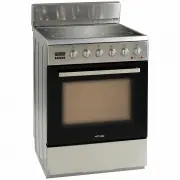
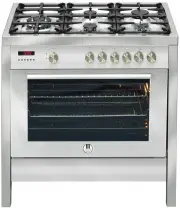
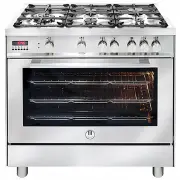
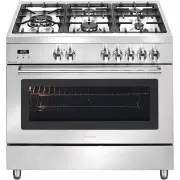
Artusi AO888X - Manuals

User Manual Artusi AO888X


Summary
3 - To avoid any possible hazard, the appliance may be installed by qualified personnel only. - Any repairs by unqualified persons may result in electric shock or short circuit. In order to avoid possible injuries to your body or to the appliance, do not attemptany repairs by qualified service perso...
4 The oven data plate remains accessible following installation, and is exposed toview simply by opening the door.It shows all details needed to identify the appliance, and these must be indicatedwhen ordering replacement parts. Given the type and height of this built-in oven, it can be installed on...
6 TOP OVEN The oven offers a basic choice between two types of cooking:A) conventional oven cookingB) grill (infrared radiant heat) Selector functions: Position 0 : The oven is swiched OFF Position 1: Oven interior light ( turn to the right ) Position 2: Lower heating element Set the required temper...
Artusi Ovens Manuals
-
 Artusi ACSO45X
User Manual
Artusi ACSO45X
User Manual
-
 Artusi AFC547W
User Manual
Artusi AFC547W
User Manual
-
 Artusi AFC607B
User Manual
Artusi AFC607B
User Manual
-
 Artusi AFC607W
User Manual
Artusi AFC607W
User Manual
-
 Artusi AFC607X
User Manual
Artusi AFC607X
User Manual
-
 Artusi AFDC5470W
User Manual
Artusi AFDC5470W
User Manual
-
 Artusi AFDE5470W
User Manual
Artusi AFDE5470W
User Manual
-
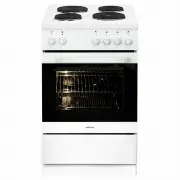
 Artusi AFE504W
User Manual
Artusi AFE504W
User Manual
-
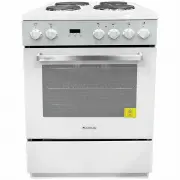
 Artusi AFE544W
User Manual
Artusi AFE544W
User Manual
-
 Artusi AFE547W
User Manual
Artusi AFE547W
User Manual
-
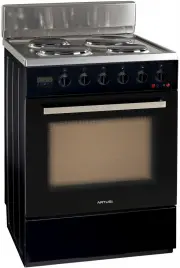 Artusi AFE607B
User Manual
Artusi AFE607B
User Manual
-
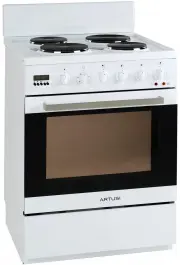 Artusi AFE607W
User Manual
Artusi AFE607W
User Manual
-
 Artusi AFG1206X
User Manual
Artusi AFG1206X
User Manual
-
 Artusi AFG900X
User Manual
Artusi AFG900X
User Manual
-
 Artusi AFG910B
User Manual
Artusi AFG910B
User Manual
-
 Artusi AFG910W
User Manual
Artusi AFG910W
User Manual
-
 Artusi AFG910X
User Manual
Artusi AFG910X
User Manual
-
 Artusi AFG911X
User Manual
Artusi AFG911X
User Manual
-
 Artusi AFG915B
User Manual
Artusi AFG915B
User Manual
-
 Artusi AFG915X
User Manual
Artusi AFG915X
User Manual