Artusi AO654XP - Manuals
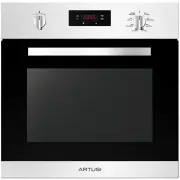
User Manual Artusi AO654XP


Summary
Safety Warnings Built-In Oven - 750SPYKTI • The appliance is not intended for use by persons (including children) with reduced physical, sensory or mental capabilities, or lack of experience and knowledge, unless they have been given supervised or instruction concerning use of the appliance by a res...
EN 2 • Do not disassemble any parts prior to having disconnected the oven from the mains. • Do not use the appliance if any part is broken (for example a glass). Disconnect it from the mains and call service. • Before using the oven, it is recommended to make it operate at noload at the maximum temp...
EN 4 2 - Installation of the oven To install the oven into the kitchen a cutout should be made in accordance with the dimensions shown in Fig. 1.The apparatus is to be fastened to the top by means of the two screws provided in the kit through the holes made on the oven uprights.The cabinet in which ...
Artusi Ovens Manuals
-
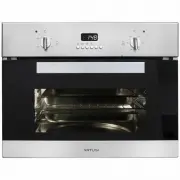 Artusi ACSO45X
User Manual
Artusi ACSO45X
User Manual
-
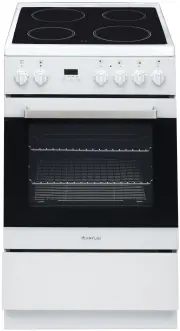 Artusi AFC547W
User Manual
Artusi AFC547W
User Manual
-
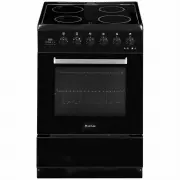 Artusi AFC607B
User Manual
Artusi AFC607B
User Manual
-
 Artusi AFC607W
User Manual
Artusi AFC607W
User Manual
-
 Artusi AFC607X
User Manual
Artusi AFC607X
User Manual
-
 Artusi AFDC5470W
User Manual
Artusi AFDC5470W
User Manual
-
 Artusi AFDE5470W
User Manual
Artusi AFDE5470W
User Manual
-
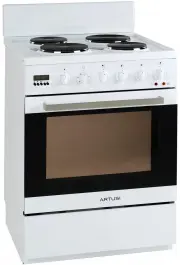
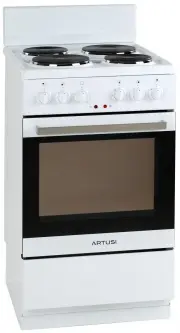 Artusi AFE504W
User Manual
Artusi AFE504W
User Manual
-
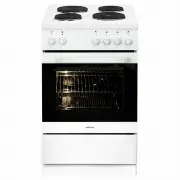 Artusi AFE544W
User Manual
Artusi AFE544W
User Manual
-
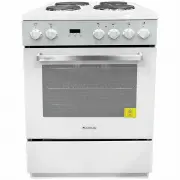 Artusi AFE547W
User Manual
Artusi AFE547W
User Manual
-
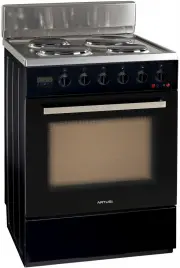 Artusi AFE607B
User Manual
Artusi AFE607B
User Manual
-
 Artusi AFE607W
User Manual
Artusi AFE607W
User Manual
-
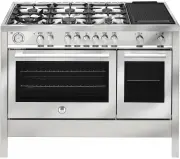 Artusi AFG1206X
User Manual
Artusi AFG1206X
User Manual
-
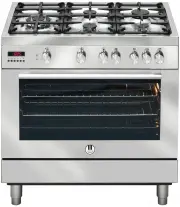 Artusi AFG900X
User Manual
Artusi AFG900X
User Manual
-
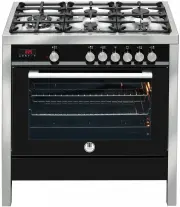 Artusi AFG910B
User Manual
Artusi AFG910B
User Manual
-
 Artusi AFG910W
User Manual
Artusi AFG910W
User Manual
-
 Artusi AFG910X
User Manual
Artusi AFG910X
User Manual
-
 Artusi AFG911X
User Manual
Artusi AFG911X
User Manual
-
 Artusi AFG915B
User Manual
Artusi AFG915B
User Manual
-
 Artusi AFG915X
User Manual
Artusi AFG915X
User Manual