Artusi AFGG54EG - Manuals
User Manual Artusi AFGG54EG


Summary
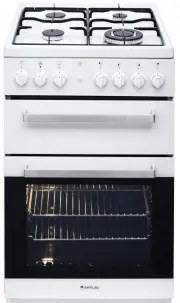
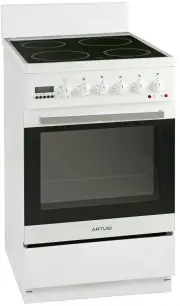
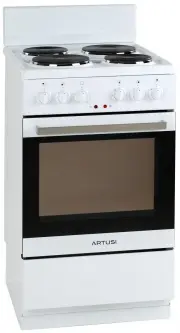
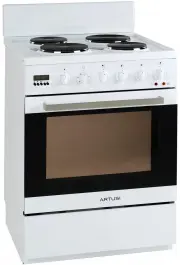
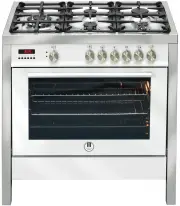
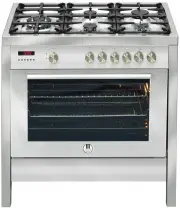
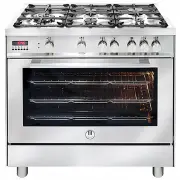
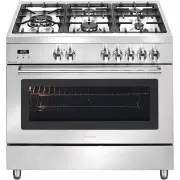
Medium burner Auxiliary burner Grate Wok burner Oven door handle Oven door handle Control panel Main oven Temperature Mechanical timer control knob 5 DESCRIPTION OF THE APPLIANCE 6 control knob control knob Top oven/grill control knob Top burners control knob Top oven indicator light HOW TO SAVE ENE...
INSTALLATION 7 8 INSTALLATION This appliance must be installed by an authorised person in accordance with this instruction manual, AS/NZS 5601.1-Gas installations (installation and pipe sizing), local gas fitting regulations, local electrical regulations, Building Code of Australia and any other gov...
Gas leakage and operation of the appliance must be tested by the installer before leaving. Check all For minor adjustment and fault finding refer to page 25 If this appliance cannot be adjusted to perform correctly. Refer to the warranty card for service & parts contact information. Where the bu...
Artusi Ovens Manuals
-
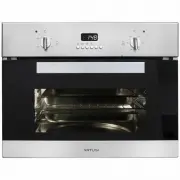 Artusi ACSO45X
User Manual
Artusi ACSO45X
User Manual
-
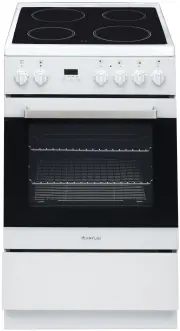 Artusi AFC547W
User Manual
Artusi AFC547W
User Manual
-
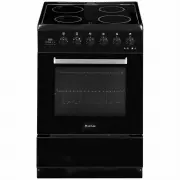 Artusi AFC607B
User Manual
Artusi AFC607B
User Manual
-
 Artusi AFC607W
User Manual
Artusi AFC607W
User Manual
-
 Artusi AFC607X
User Manual
Artusi AFC607X
User Manual
-
 Artusi AFDC5470W
User Manual
Artusi AFDC5470W
User Manual
-
 Artusi AFDE5470W
User Manual
Artusi AFDE5470W
User Manual
-
 Artusi AFE504W
User Manual
Artusi AFE504W
User Manual
-
 Artusi AFE544W
User Manual
Artusi AFE544W
User Manual
-
 Artusi AFE547W
User Manual
Artusi AFE547W
User Manual
-
 Artusi AFE607B
User Manual
Artusi AFE607B
User Manual
-
 Artusi AFE607W
User Manual
Artusi AFE607W
User Manual
-
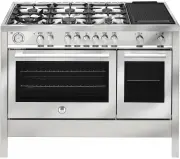 Artusi AFG1206X
User Manual
Artusi AFG1206X
User Manual
-
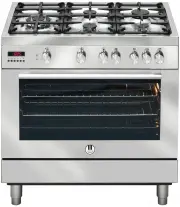 Artusi AFG900X
User Manual
Artusi AFG900X
User Manual
-
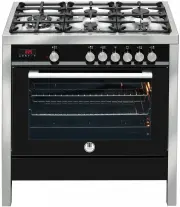 Artusi AFG910B
User Manual
Artusi AFG910B
User Manual
-
 Artusi AFG910W
User Manual
Artusi AFG910W
User Manual
-
 Artusi AFG910X
User Manual
Artusi AFG910X
User Manual
-
 Artusi AFG911X
User Manual
Artusi AFG911X
User Manual
-
 Artusi AFG915B
User Manual
Artusi AFG915B
User Manual
-
 Artusi AFG915X
User Manual
Artusi AFG915X
User Manual