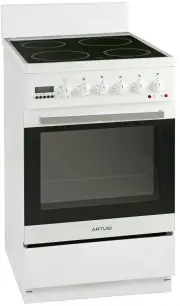
Artusi AFGE5470X - Manuals
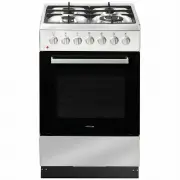
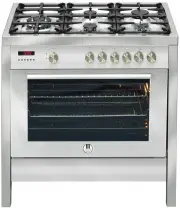
User Manual Artusi AFGE5470X


Summary
SAFETY INSTRUCTIONS ● During the operation of gas burners the room may be filled with extra heat and humidity, so it is necessary to assure adequate ventilation. Occasional opening of the window or door should provide enough exchange of air. D uring the prolonged use of the appliance, or during a ve...
DESCRIPTION OF THE APPLIANCE INSTALLATION This appliance must be installed by an authorised person in accordance with this instruction manual, AS/NZS 5601.1-Gas installations (installation andpipe sizing), local gas fitting regulations, local electrical regulations, Building Code of Australia and an...
INSTALLATION Gas connection Caution ! The cooker should only be connected to a gas supply of the particular type that the appliance is manufactured to function with. Information about the type of gas that the cooker has been adapted to by the factory is shown on the rear panel. This appliance is sui...
Artusi Ovens Manuals
-
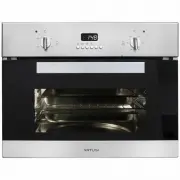 Artusi ACSO45X
User Manual
Artusi ACSO45X
User Manual
-
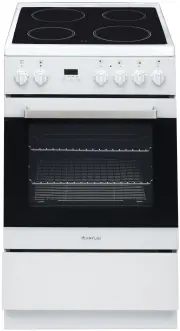 Artusi AFC547W
User Manual
Artusi AFC547W
User Manual
-
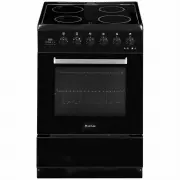 Artusi AFC607B
User Manual
Artusi AFC607B
User Manual
-
 Artusi AFC607W
User Manual
Artusi AFC607W
User Manual
-
 Artusi AFC607X
User Manual
Artusi AFC607X
User Manual
-
 Artusi AFDC5470W
User Manual
Artusi AFDC5470W
User Manual
-
 Artusi AFDE5470W
User Manual
Artusi AFDE5470W
User Manual
-
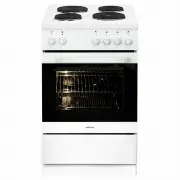
 Artusi AFE504W
User Manual
Artusi AFE504W
User Manual
-
 Artusi AFE544W
User Manual
Artusi AFE544W
User Manual
-
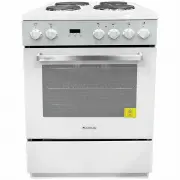 Artusi AFE547W
User Manual
Artusi AFE547W
User Manual
-
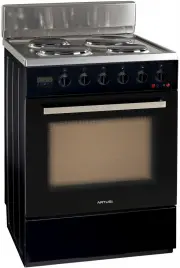 Artusi AFE607B
User Manual
Artusi AFE607B
User Manual
-
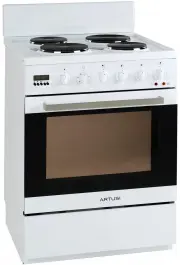 Artusi AFE607W
User Manual
Artusi AFE607W
User Manual
-
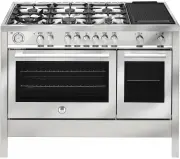 Artusi AFG1206X
User Manual
Artusi AFG1206X
User Manual
-
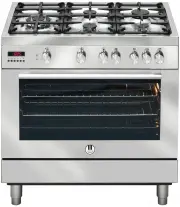 Artusi AFG900X
User Manual
Artusi AFG900X
User Manual
-
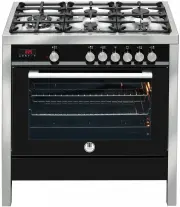 Artusi AFG910B
User Manual
Artusi AFG910B
User Manual
-
 Artusi AFG910W
User Manual
Artusi AFG910W
User Manual
-
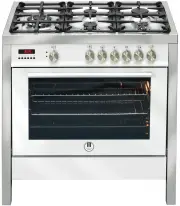
 Artusi AFG910X
User Manual
Artusi AFG910X
User Manual
-
 Artusi AFG911X
User Manual
Artusi AFG911X
User Manual
-
 Artusi AFG915B
User Manual
Artusi AFG915B
User Manual
-
 Artusi AFG915X
User Manual
Artusi AFG915X
User Manual