Whirlpool WSGS7530RZ - User Manual
This user manual provides a comprehensive guide to using a multifunctional gas range and oven, covering essential operational modes such as baking, broiling, air cooking (including frying, baking, roasting), and griddle functions. The document emphasizes key topics like keypad controls–such as START, CANCEL, CONFIRM/MENU, and BACK–and safety warnings about food poisoning hazards. It also details setup procedures for accessories like EZ-2-Lift™ hinged cast iron grates, burner maintenance (alignment, cleaning, orifice inspection), and cookware compatibility with different materials. Safety considerations–such as proper oven vent usage, burner ignition checks, and correct cooktop surface placement–are highlighted alongside troubleshooting tips for common operational issues.


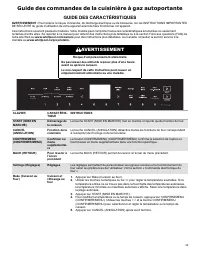
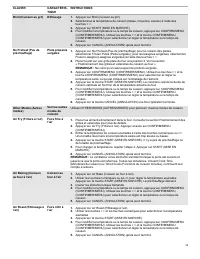
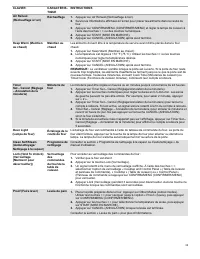
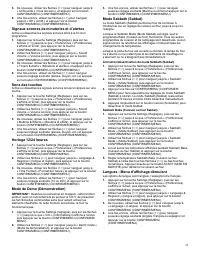
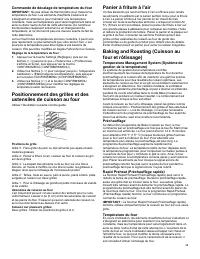
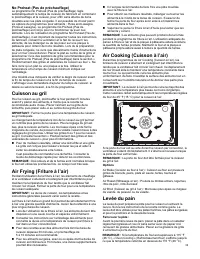


Table of Contents:
- Page 1 – Gas Range Keypad Functions and Setup
- Page 2 – Oven Cooking Modes and Settings
- Page 3 – Oven Controls, Safety, and Accessory Use
- Page 4 – Griddle and Burner Cleaning Procedures
- Page 5 – Installing Hinged Grates and Cookware Placement
- Page 6 – Cookware Material Properties and Oven Operation
- Page 7 – Oven Settings and Mode Configuration
- Page 8 – Optimal Rack Positioning and Preheat Methods
- Page 9 – Air Cooking and Proofing Instructions
- Page 10 – Gas Range Control Panel Operations
- Page 11 – Multi-function Oven Mode Instructions
- Page 12 – Oven Auxiliary Functions Guidance
- Page 13 – Air Roasting and Griddle Installation
- Page 14 – Gas Burner Maintenance and Alignment
- Page 15 – Grates Installation and Cookware Material Selection
- Page 16 – Cookware Placement and Electronic Adjustments
- Page 17 – Oven Customization and Mode Configuration
- Page 18 – Temperature Control and Rack Positioning
- Page 19 – Cooking Programs and Air Circulation
- Page 20 – Gas Oven Control Functions
- Page 21 – Air Cooking Mode Step-by-Step
- Page 22 – Oven Auxiliary Function Instructions
- Page 23 – Surface Burner Safety and Griddle Installation
- Page 24 – Gas Stove Component Cleaning and Assembly
- Page 25 – Cooktop Grate Material Characteristics
- Page 26 – Oven Electronic Controls and Safety
- Page 27 – Oven Operational Modes and Calibration
- Page 28 – Baking, Roasting, and Grilling Procedures
- Page 29 – Air Cooking and Baking Modes
1
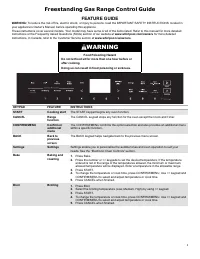
Freestanding Gas Range Control Guide
FEATURE GUIDE
WARNING:
To reduce the risk of fire, electric shock, or injury to persons, read the IMPORTANT SAFETY INSTRUCTIONS, located in
your appliance’s Owner’s Manual, before operating this appliance.
These instructions cover several models. Your model may have some or all of the items listed. Refer to this manual for more detailed
instructions or the Frequently Asked Questions (FAQs) section of our website at
www.whirlpool.com/owners
for more detailed
instructions. In Canada, refer to the Customer Service section at
www.whirlpool.ca/owners.
WARNING
Food Poisoning Hazard
Do not let food sit for more than one hour before or
after cooking.
Doing so can result in food poisoning or sickness.
KEYPAD
FEATURE
INSTRUCTIONS
START
Cooking start
The START keypad begins any oven function.
CANCEL
Range
function
The CANCEL keypad stops any function for the oven except the Clock and Timer.
CONFIRM/MENU
Confirm or
additional
menu
The CONFIRM/MENU confirms the option selection and also provides an additional menu
within a specific function.
BACK
Back to
previous
screen
The BACK keypad helps navigate back to the previous menu screen.
Settings
Settings
Settings enable you to personalize the audible tones and oven operation to suit your
needs. See the “Electronic Oven Controls” section.
Bake
Baking and
roasting
1.
Press Bake.
2.
Press the number or <> keypads to set the desired temperature. If the temperature
entered is not in the range of the temperatures allowed, the minimum or maximum
allowed temperature will be displayed. Enter a temperature in the allowable range.
3.
Press START.
4.
To change the temperature or cook time, press CONFIRM/MENU. Use <> keypad and
CONFIRM/MENU to select and adjust temperature or cook time.
5.
Press CANCEL when finished.
Broil
Broiling
1.
Press Broil.
2.
Select the broiling temperature (Low, Medium, High) by using <> keypad.
3.
Press START.
4.
To change the temperature or cook time, press CONFIRM/MENU. Use <> keypad and
CONFIRM/MENU to select and adjust temperature or cook time.
5.
Press CANCEL when finished.
"Loading the manual" means you need to wait until the file loads and becomes available for online reading. Some manuals are very large, and the time they take to appear depends on your internet speed.
Was this manual helpful?
Helpful for 3 of 3 readers
About this manual
- Brand
- Whirlpool
- Model
- WSGS7530RZ
- Document type
- User Manual
- Language(s)
- English, Spanish, French
- Pages
- 29
- File size
- 2.7 MB
- Format
Other Manuals for Whirlpool WSGS7530RZ
Summary
Guide to using keypad functions like START, CANCEL, CONFIRM/MENU, and BACK for operating a freestanding gas range, along with setting baking and broiling functions.
Step-by-step instructions for using various oven cooking modes including No Preheat, Air Fry, Air Baking, Air Roast, Air Reheat, and Keep Warm, detailing temperature setting and operation.
Instructions for controlling oven functions via the keypad, setting timers, managing the light, initiating clean cycles, locking controls, proofing bread, and safety warnings regarding hot surfaces and vents.
Ask a question
Related manuals
Popular Whirlpool Other






More Whirlpool Other models
 Whirlpool WSF26C2EXB01 User Manual
- Whirlpool WSF26C2EXF01 User Manual
- Whirlpool WSF26C2EXY02 User Manual
 Whirlpool WSF26C3EXF01 User Manual
- Whirlpool WSF26C3EXW01 User Manual
 Whirlpool WSGS7530RV Manual
 Whirlpool WSIS5030RZ User Manual
 Whirlpool WSR25D2RYY00 User Manual
 Whirlpool WSR57R18DM02 User Manual
 Whirlpool WSR57R18DM03 User Manual
 Whirlpool WT Manual
 Whirlpool WT9BTABC User Manual