Thomson T19E27U - User Manual
Thomson T19E27U TV – User Manual, read for free online in PDF format. We hope this helps you resolve any issues you may have. If you have further questions, please contact us through the contact form.
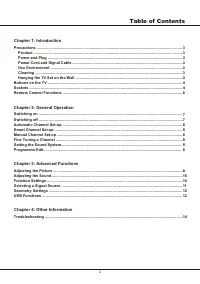
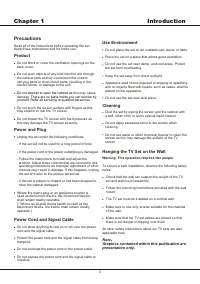
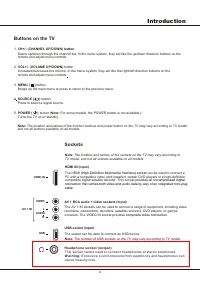
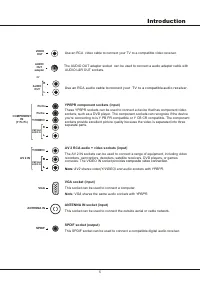
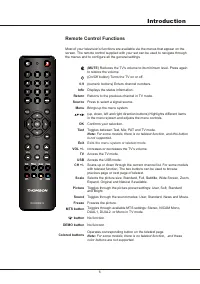
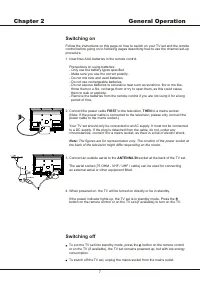
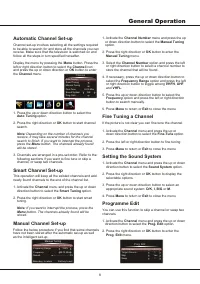
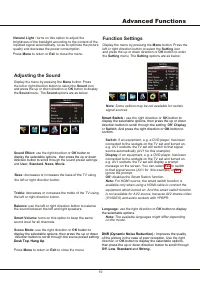
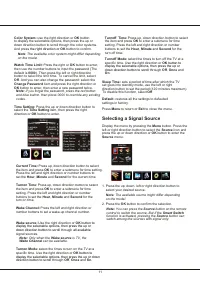
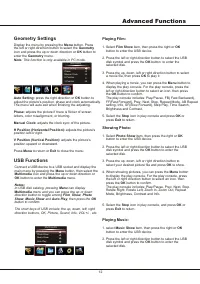
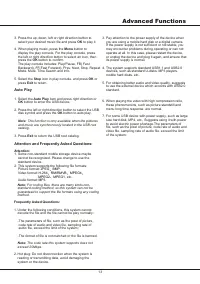
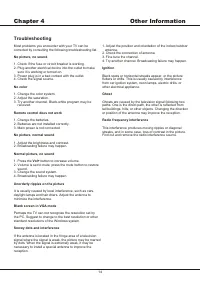
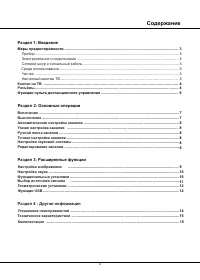
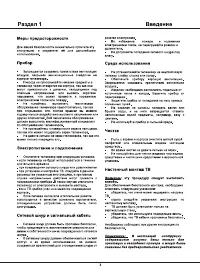
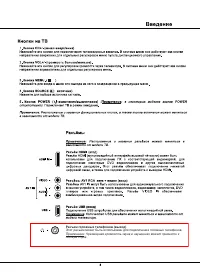
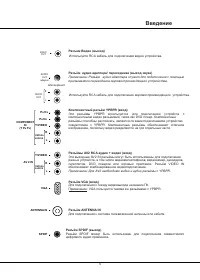
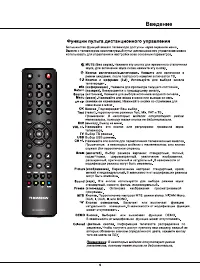
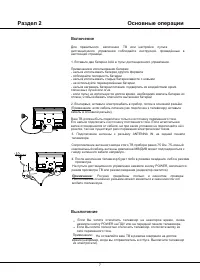
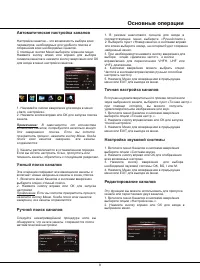
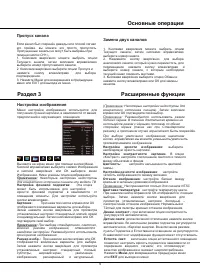
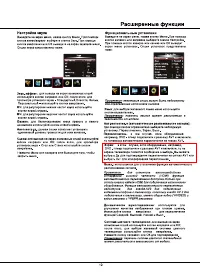
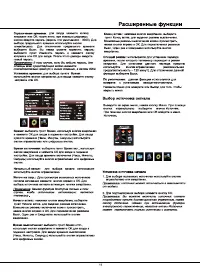
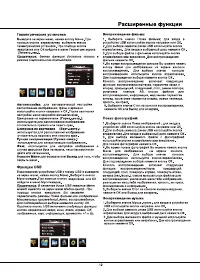
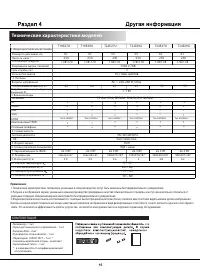


Table of Contents:
- Page 2 – Table of Contents; Chapter 1: Introduction; Buttons on the TV
- Page 3 – Precautions; Do not attempt to open the cabinet; Warning: This operation requires two people.
- Page 4 – Introduction; Sockets; all sockets available on all models.; Note; rovides an uncompressed digital; AUDIO; composite video connection.; USB; The number of USB sockets on the TV may vary according to TV model.
- Page 5 – This socket can be used to connect a computer.; VGA; SPDIF; or
- Page 6 – Remote Control Functions; Exits the menu system or teletext mode.; For some models, there is no teletext function
- Page 7 – Switching on; ANTENNA IN; the back of the television might differ depending on the model.; Switching off
- Page 8 – General Operation; Automatic Channel Set-up; Depending on the number of channels you; Manual Channel Set-up; Programme Edit
- Page 9 – Swapping Two Channels; Advanced Functions; Adjusting the Picture; When selecting
- Page 10 – Some options may be not available for certain; Adjusting the Sound; Menu; For HDMI source, the smart switch function is
- Page 11 – Selecting a Signal Source; The available source might differ depending
- Page 12 – USB Functions
- Page 13 – The parameters of; Attention and Frequently Asked Questions; This system supports the following file formats:; Auto Play; This function is only available when the pictures; Frequently Asked Questions:; -The format of file is not matched or the file is harmed.
- Page 14 – Troubleshooting; button to increase volume.
- Page 15 – Содержание; Раздел; Настройка изображения
- Page 18 – Введение; Компонентный разъём; AV; Разъём; прилагаемого переходника звуковоспроизводящего устройства.
- Page 20 – Включение; Рисунки приведены только в качестве примера.; Выключение
- Page 21 – Основные операции; VHFL
- Page 22 – Пропуск канала; Расширенные функции; EXIT
- Page 26 – Автоматическое воспроизведение:; Часто задаваемые вопросы:; JPEG; Наиболее часто задаваемые вопросы:
- Page 28 – Технические характеристики моделей; КОМПЛЕКТАЦИЯ
Телевизор цветного изображения
с жидкокристаллическим экраном
со светодиодной подсветкой
Модель:
Руководство по эксплуатации
T19E29U T19E27U
T22E29U T24E27U
T24E29U T22E27U
"Loading the manual" means you need to wait until the file loads and becomes available for online reading. Some manuals are very large, and the time they take to appear depends on your internet speed.
Summary
Table of Contents 2 Chapter 1: Introduction Chapter 2: General Operation Chapter 3: Advanced Functions Chapter 4: Other Information 14 3333333446 77888888 91010111212 Precautions ............................................................................................................................
Introduction 3 Chapter 1 Precautions Product Read all of the instructions before operating the set. Keep these instructions well for future use. Do not block or cover the ventilation openings on the back cover. Do not push objects of any kind into this unit through the cabinet slots as they could to...
4 Introduction Sockets Note: The location and names of the sockets on the TV may vary according to TV model, and not all sockets available on all models. 1. CH+/- ( CHANNEL UP / DOWN) button Scans up/down through the channel list. In the menu system, they act like the up/down direction buttons on th...