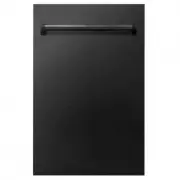
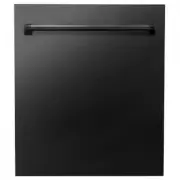
ZLINE Kitchen and Bath DW-RG-H-18 - Manuals
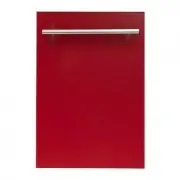
ZLINE Kitchen and Bath DW-RG-H-18 Dishwasher – User Manual in PDF format online.
Manuals:
User Manual ZLINE Kitchen and Bath DW-RG-H-18


Summary
COVERAGE ZLINE Kitchen and Bath range products will be warrantied for one year from the original purchase date for the original purchaser of the product. This warranty covers all parts and labor for necessary repairs if any part of the product proves to be defective in materials or workmanship. The ...
2 1 WARNING An air curtain or other overhead range/cooktop hood, which operates by blowing downward airflow onto the range, shall not be used/installed in conjunction with this gas range. • The manufacturer will not be responsible for any damage to property or to persons caused by incorrect installa...
4 3 Please keep this manual for future use. The rating tag shows the model and serial number of your range. The tag is located under the front edge of the range cooktop. The tag is visible when the oven door is open. Do not remove permanently affixed labels, warnings, or plates from the product. Thi...
ZLINE Kitchen and Bath Dishwashers Manuals
-
 ZLINE Kitchen and Bath DW-304-18
User Manual
ZLINE Kitchen and Bath DW-304-18
User Manual
-
 ZLINE Kitchen and Bath DW-304-24
User Manual
ZLINE Kitchen and Bath DW-304-24
User Manual
-
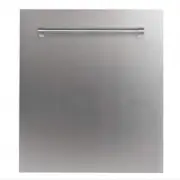
 ZLINE Kitchen and Bath DW-304-H-18
User Manual
ZLINE Kitchen and Bath DW-304-H-18
User Manual
-
 ZLINE Kitchen and Bath DW-304-H-24
User Manual
ZLINE Kitchen and Bath DW-304-H-24
User Manual
-
 ZLINE Kitchen and Bath DW7713-24
User Manual
ZLINE Kitchen and Bath DW7713-24
User Manual
-
 ZLINE Kitchen and Bath DW7714-18
User Manual
ZLINE Kitchen and Bath DW7714-18
User Manual
-
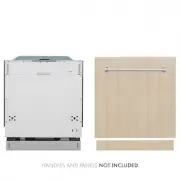
 ZLINE Kitchen and Bath DW-BG-18
User Manual
ZLINE Kitchen and Bath DW-BG-18
User Manual
-
 ZLINE Kitchen and Bath DW-BG-24
User Manual
ZLINE Kitchen and Bath DW-BG-24
User Manual
-
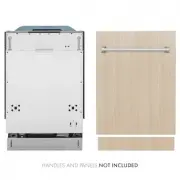
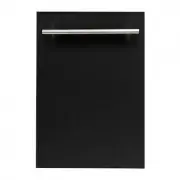
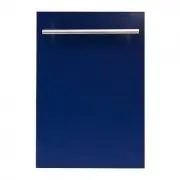 ZLINE Kitchen and Bath DW-BG-H-18
User Manual
ZLINE Kitchen and Bath DW-BG-H-18
User Manual
-
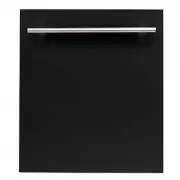
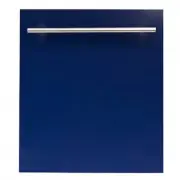 ZLINE Kitchen and Bath DW-BG-H-24
User Manual
ZLINE Kitchen and Bath DW-BG-H-24
User Manual
-
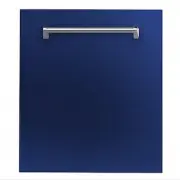
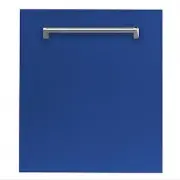
 ZLINE Kitchen and Bath DW-BLM-18
User Manual
ZLINE Kitchen and Bath DW-BLM-18
User Manual
-
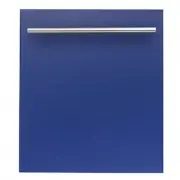
 ZLINE Kitchen and Bath DW-BLM-24
User Manual
ZLINE Kitchen and Bath DW-BLM-24
User Manual
-
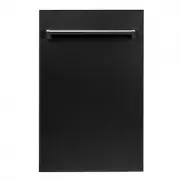
 ZLINE Kitchen and Bath DW-BLM-H-18
User Manual
ZLINE Kitchen and Bath DW-BLM-H-18
User Manual
-
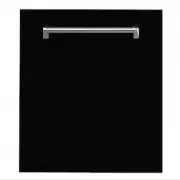
 ZLINE Kitchen and Bath DW-BLM-H-24
User Manual
ZLINE Kitchen and Bath DW-BLM-H-24
User Manual
-
 ZLINE Kitchen and Bath DW-BM-18
User Manual
ZLINE Kitchen and Bath DW-BM-18
User Manual
-
 ZLINE Kitchen and Bath DW-BM-24
User Manual
ZLINE Kitchen and Bath DW-BM-24
User Manual
-
 ZLINE Kitchen and Bath DW-BM-H-18
User Manual
ZLINE Kitchen and Bath DW-BM-H-18
User Manual
-
 ZLINE Kitchen and Bath DW-BM-H-24
User Manual
ZLINE Kitchen and Bath DW-BM-H-24
User Manual
-
 ZLINE Kitchen and Bath DW-BS-18
User Manual
ZLINE Kitchen and Bath DW-BS-18
User Manual
-
 ZLINE Kitchen and Bath DW-BS-24
User Manual
ZLINE Kitchen and Bath DW-BS-24
User Manual