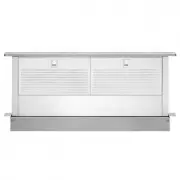
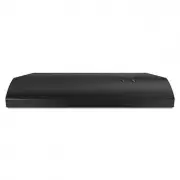
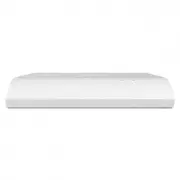
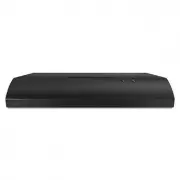
Whirlpool WVW51UC0HV - Manuals
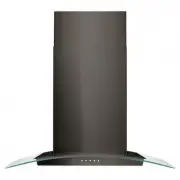
Whirlpool WVW51UC0HV Range Hood – User Manual, Manual in PDF format online.
Manuals:
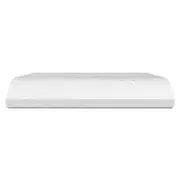
User Manual Whirlpool WVW51UC0HV
1

2
3

4

5

6

7

8

9

10

11

12

13

14

15
16
17
18

19
20
21
22

23

24
25
26
27
28

Manual Whirlpool WVW51UC0HV
1
2

3
4

5

6

7

8

9

10

11

12

13

14

15

16

17

18
19

20

21

22

23
24

25

26

27

28
Summary
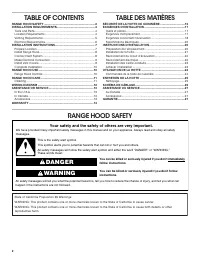
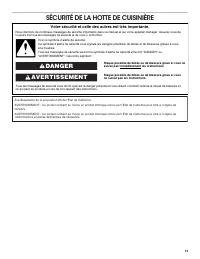
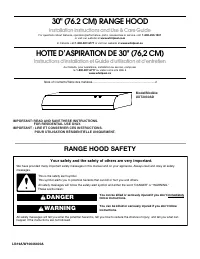
Page 2 - Your safety and the safety of others are very important.; DANGER
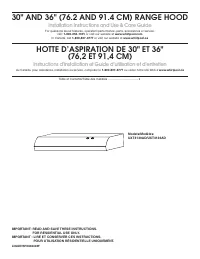
2 TABLE OF CONTENTS TABLE DES MATIÈRES RANGE HOOD SAFETY You can be killed or seriously injured if you don't immediately You can be killed or seriously injured if you don't follow All safety messages will tell you what the potential hazard is, tell you how to reduce the chance of injury, and tell yo...
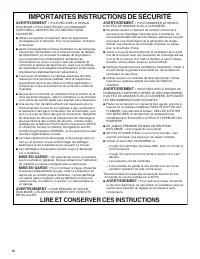
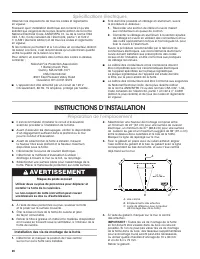
Page 3 - IMPORTANT SAFETY INSTRUCTIONS; READ AND SAVE THESE INSTRUCTIONS
3 IMPORTANT SAFETY INSTRUCTIONS READ AND SAVE THESE INSTRUCTIONS
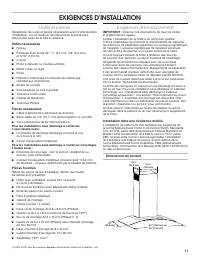
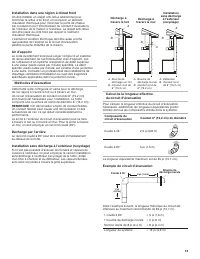
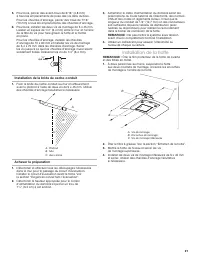
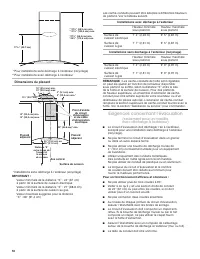
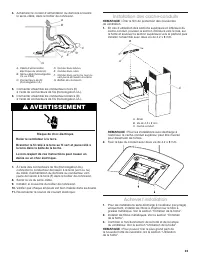
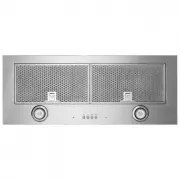
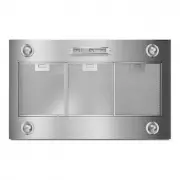
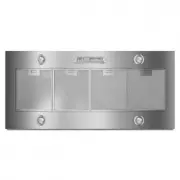
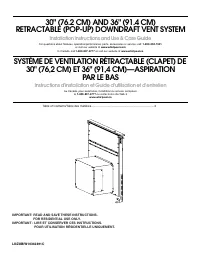
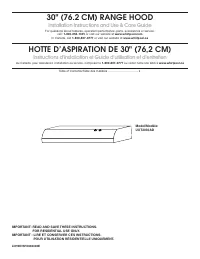
Page 4 - INSTALLATION REQUIREMENTS; Tools and Parts; Tools Needed; Parts Supplied; Location Requirements; For Mobile Home Installations
4 INSTALLATION REQUIREMENTS Tools and Parts Gather the required tools and parts before starting installation. Read and follow the instructions provided with any tools listed here. Tools Needed ■ Level ■ Drill with 1 1 / 4 " (3.2 cm), 1/8" (3.2 mm), and 5/16" (7.9 mm) drill bits ■ Pencil ...
Whirlpool Range Hoods Manuals
-
 Whirlpool UVL5430JSS
User Manual
Whirlpool UVL5430JSS
User Manual
-
Whirlpool UVL5430JSS
Installation Manual
-
 Whirlpool UVL6036JSS
User Manual
Whirlpool UVL6036JSS
User Manual
-
Whirlpool UVL6036JSS
Installation Manual
-
Whirlpool UVL6036JSS
Manual
-
 Whirlpool UVL6048JSS
User Manual
Whirlpool UVL6048JSS
User Manual
-
Whirlpool UVL6048JSS
Installation Manual
-
Whirlpool UVL6048JSS
Manual
-
 Whirlpool UXD8630DYS
User Manual
Whirlpool UXD8630DYS
User Manual
-
 Whirlpool UXD8636DYS
User Manual
Whirlpool UXD8636DYS
User Manual
-
 Whirlpool UXT2030ADB
User Manual
Whirlpool UXT2030ADB
User Manual
-
 Whirlpool UXT2030ADW
User Manual
Whirlpool UXT2030ADW
User Manual
-
 Whirlpool UXT3030ADB
User Manual
Whirlpool UXT3030ADB
User Manual
-
 Whirlpool UXT3030ADW
User Manual
Whirlpool UXT3030ADW
User Manual
-
 Whirlpool UXT4030ADB
User Manual
Whirlpool UXT4030ADB
User Manual
-
 Whirlpool UXT4030ADS
User Manual
Whirlpool UXT4030ADS
User Manual
-
 Whirlpool UXT4030ADW
User Manual
Whirlpool UXT4030ADW
User Manual
-
 Whirlpool UXT4130ADS
User Manual
Whirlpool UXT4130ADS
User Manual
-
 Whirlpool UXT4236ADS
User Manual
Whirlpool UXT4236ADS
User Manual
-
 Whirlpool UXT5230BDS
User Manual
Whirlpool UXT5230BDS
User Manual