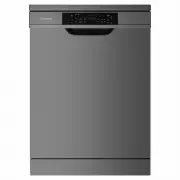
Westinghouse WSU67381S - Manuals
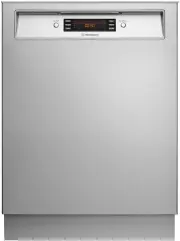
User Manual Westinghouse WSU67381S


Summary
CONTENTS Safety information �������������������������������������������������������������������������������3Safety instructions ������������������������������������������������������������������������������ 4Product description ������������������������������������������������������������������������...
Please read the user manual carefully and store in a handy place for later reference� Pass the user manual on to possible new owners of the appliance� Read the following carefully to avoid damage or injury� Note: You must read these warnings carefully before installing or using the appliance. If you...
4 SAFETY INSTRUCTIONS WARNING WARNING Risk of fire and electrical shock. Electrical connection • The appliance must be earthed�• Make sure that the electrical information on the rating plate is the same as the power supply� If not, contact an electrician� • Always use a correctly installed shockproo...
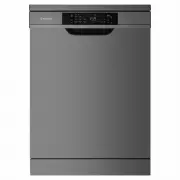
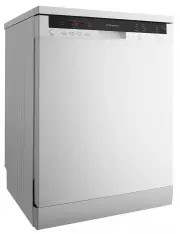
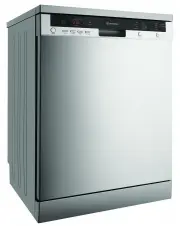
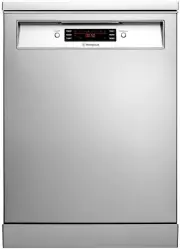
Westinghouse Dishwashers Manuals
-
 Westinghouse WDF901SA
User Manual
Westinghouse WDF901SA
User Manual
-
 Westinghouse WSF6602WA
User Manual
Westinghouse WSF6602WA
User Manual
-
 Westinghouse WSF6602XA
User Manual
Westinghouse WSF6602XA
User Manual
-
 Westinghouse WSF6604WA
User Manual
Westinghouse WSF6604WA
User Manual
-
 Westinghouse WSF6604XA
User Manual
Westinghouse WSF6604XA
User Manual
-
 Westinghouse WSF6606KXA
User Manual
Westinghouse WSF6606KXA
User Manual
-
 Westinghouse WSF6606W
User Manual
Westinghouse WSF6606W
User Manual
-
 Westinghouse WSF6606X
User Manual
Westinghouse WSF6606X
User Manual
-
 Westinghouse WSF6606XA
User Manual
Westinghouse WSF6606XA
User Manual
-
 Westinghouse WSF6608KXA
User Manual
Westinghouse WSF6608KXA
User Manual
-
 Westinghouse WSF6608W
User Manual
Westinghouse WSF6608W
User Manual
-
 Westinghouse WSF6608X
User Manual
Westinghouse WSF6608X
User Manual
-
 Westinghouse WSF6608XA
User Manual
Westinghouse WSF6608XA
User Manual
-
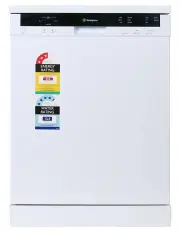
 Westinghouse WSF67381S
User Manual
Westinghouse WSF67381S
User Manual
-
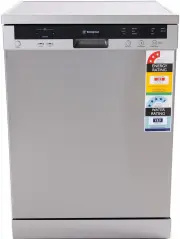
 Westinghouse WSU6603XR
User Manual
Westinghouse WSU6603XR
User Manual