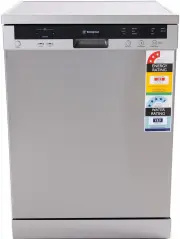
Westinghouse WSF6606W - Manuals
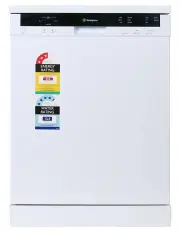
User Manual Westinghouse WSF6606W


Summary
2 Important safety instructions 3 Recycling 3 Safety information 3 Recommendations 4 Items not suitable for dishwashing 4 Description of your appliance 5 Technical specifications 5 Conformity with the standards and Test data 5 Quick Start Guide 7Installing the machine 8 Positioning the machine 8 Wat...
3 SAFETY iMpoRTANT SAfETy iNSTRUcTioNS These warnings have been provided in the interest of safety. You MUST read them carefully before installing or using the appliance. The symbols you will see in this booklet have these meanings: WARNING WARNING This symbol indicates information concerning your p...
4 SAfETy iNfoRMATioN ANd REcoMMENdATioNS SAFETY foR yoUR cHiLdREN’S SAfETy • After removing the machine’s packaging, make sure that the packaging material is out of reach of children. • Do not allow children to play with or start the machine. • Keep your children away from detergents and rinse aids....
Westinghouse Dishwashers Manuals
-
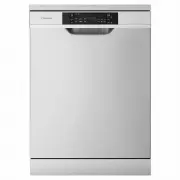
 Westinghouse WSF6602WA
User Manual
Westinghouse WSF6602WA
User Manual
-
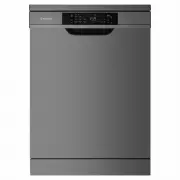
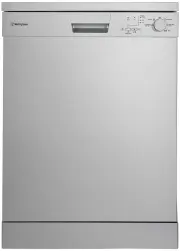 Westinghouse WSF6602XA
User Manual
Westinghouse WSF6602XA
User Manual
-
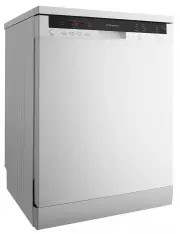
 Westinghouse WSF6604WA
User Manual
Westinghouse WSF6604WA
User Manual
-
 Westinghouse WSF6604XA
User Manual
Westinghouse WSF6604XA
User Manual
-
 Westinghouse WSF6606KXA
User Manual
Westinghouse WSF6606KXA
User Manual
-
 Westinghouse WSF6606X
User Manual
Westinghouse WSF6606X
User Manual
-
 Westinghouse WSF6606XA
User Manual
Westinghouse WSF6606XA
User Manual
-
 Westinghouse WSF6608KXA
User Manual
Westinghouse WSF6608KXA
User Manual
-
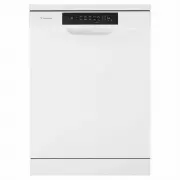
 Westinghouse WSF6608W
User Manual
Westinghouse WSF6608W
User Manual
-
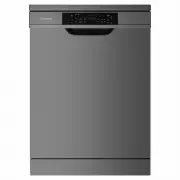
 Westinghouse WSF6608X
User Manual
Westinghouse WSF6608X
User Manual
-
 Westinghouse WSF6608XA
User Manual
Westinghouse WSF6608XA
User Manual
-
 Westinghouse WSF67381S
User Manual
Westinghouse WSF67381S
User Manual
-
 Westinghouse WSU6603XR
User Manual
Westinghouse WSU6603XR
User Manual