Westinghouse WRCG943SB - Manuals
User Manual Westinghouse WRCG943SB


Summary
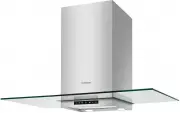
CONGRATULATIONS Congratulations and thank you for choosing our canopy rangehood. We are sure you will find your new rangehood a pleasure to use. Before you use your rangehood, we recommend that you read through the whole user manual, which provides the description of the rangehood and its function. ...
IMPORTANT SAFETY INSTRUCTIONS This manual explains the proper use of your new Westinghouse canopy rangehood. Please read this manual carefully before using the product. This manual should be kept in a safe place for handy reference. This canopy rangehood is a domestic appliance which has been manufa...
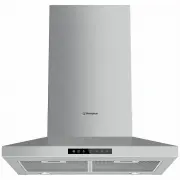
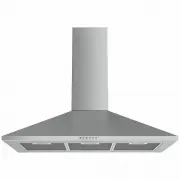
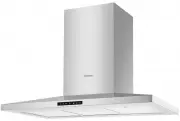
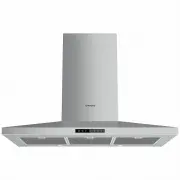
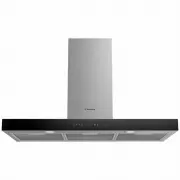
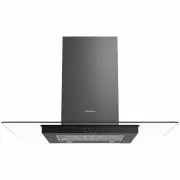
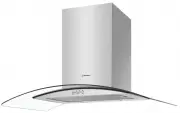
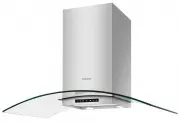
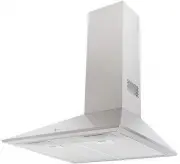
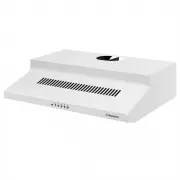
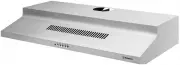
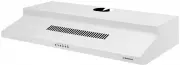
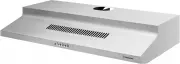
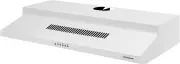
DESCRIPTION OF YOUR RANGEHOOD WRCG932SB WRCG933SB WRCG943SB Components list 1. Upper Flue mounting bracket 2. Telescopic flue cover 3. Exhaust transition duct 4. Lower Flue mounting bracket 5. Main body and fan housing assembly 6. Glass 7. Grease filter Additional items required for installation til...
Westinghouse Range Hoods Manuals
-
 Westinghouse EFG540G-A
User Manual
Westinghouse EFG540G-A
User Manual
-
 Westinghouse EFG750X-A
User Manual
Westinghouse EFG750X-A
User Manual
-
 Westinghouse WRC613SB
User Manual
Westinghouse WRC613SB
User Manual
-
 Westinghouse WRC614SC
User Manual
Westinghouse WRC614SC
User Manual
-
 Westinghouse WRC904SC
User Manual
Westinghouse WRC904SC
User Manual
-
 Westinghouse WRC913SB
User Manual
Westinghouse WRC913SB
User Manual
-
 Westinghouse WRC914SC
User Manual
Westinghouse WRC914SC
User Manual
-
 Westinghouse WRC924SC
User Manual
Westinghouse WRC924SC
User Manual
-
 Westinghouse WRCG914BC
User Manual
Westinghouse WRCG914BC
User Manual
-
 Westinghouse WRCG930SB
User Manual
Westinghouse WRCG930SB
User Manual
-
 Westinghouse WRCG933SB
User Manual
Westinghouse WRCG933SB
User Manual
-
 Westinghouse WRF600CS
User Manual
Westinghouse WRF600CS
User Manual
-
 Westinghouse WRF610SA
User Manual
Westinghouse WRF610SA
User Manual
-
 Westinghouse WRF610WA
User Manual
Westinghouse WRF610WA
User Manual
-
 Westinghouse WRF613SA
User Manual
Westinghouse WRF613SA
User Manual
-
 Westinghouse WRF613WA
User Manual
Westinghouse WRF613WA
User Manual
-
 Westinghouse WRF910SA
User Manual
Westinghouse WRF910SA
User Manual
-
 Westinghouse WRF910WA
User Manual
Westinghouse WRF910WA
User Manual
-
 Westinghouse WRF913SA
User Manual
Westinghouse WRF913SA
User Manual
-
 Westinghouse WRF913WA
User Manual
Westinghouse WRF913WA
User Manual