Page 2 - TABLE OF CONTENTS; PREPARING YOUR ICE MAKER FOR USE........................................................
TABLE OF CONTENTS IMPORTANT SAFETY INSTRUCTIONS………...................…………………………… PREPARING YOUR ICE MAKER FOR USE……………………………………………….. GETTING TO KNOW YOUR UNIT………………………………………………………………. OPERATING PROCEDURES & MAINTENANCE……………….............……….. USING YOUR ICE MAKER……………….……..………………………………………………………...
Page 5 - GETTING TO KNOW YOUR UNIT
1. Ice basket 2.Top cover, removable from the top 3. Secondary water reservoir: It connects directly with the evaporator. 4. Float switch. 5. Metal shell: 6. Water drain cap: at front btm side of the unit. 7. Filter 8. Control Panel 9. Water reservoir 10. Hot Air outlet 11. MAXIMUM WATER LEVEL: ▲ Re...
Page 6 - OPERATING PROCEDURES & MAINTENANCE
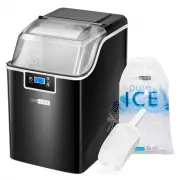
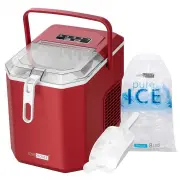
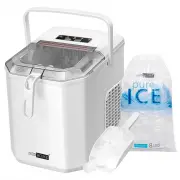
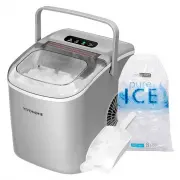
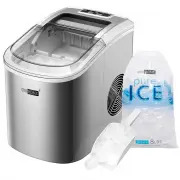
Remove the exterior and interior packaging, and then check all the accessories are included. If any parts are missing, please contact our customer service. Remove all the tapes on the unit; take out the accessory parts inside. Clean the interior with lukewarm water and a soft cloth. Locating your ic...
Page 8 - USING YOUR ICE MAKER; How to start the unit
-6- USING YOUR ICE MAKER Plug in the power cord, the screen is on: you can operate this appli- ance by touching the button on panel as shown above, the main function includes: ice/clean and timer. Take out the ice basket, pour potable water into water reservoir, 0.58 gallon (2.2 liters) water at mos...
Page 9 - CLEAN
-7- Before clean procedure, please make sure the water drain cap has been inserted into the appliance; otherwise it will not work properly. Press “ICE/CLEAN” button “ ” for 5 seconds, the screen displays 15M and the “CLEAN” symbol “ ”(as shown in the figure below), it will run cleaning procedure for...
Page 10 - How to obtain the ice-cube
-8- Before we start making ice, please make sure the water drain cap has been inserted into the appliance; otherwise it will not work properly. Press “ICE/CLEAN” button “ ”, the screen displays “ICE” symbol “ ” (as shown in the figure below) , it begin to work, Press this button again, it will stop ...
Page 11 - How to set the timer
-9- Timer Delay Time Range: 0-24 hours Press once to change: 1H When the unit is running, you can set the unit with OFF-TIMER to let the unit stop running after your set delay time. And when the unit is on standby, you can set the unit with ON-TIMER to let the unit start to run automatically after y...
Page 12 - TROUBLESHOOTING
-10- TROUBLESHOOTING PROBLEM “ ” symbol is lightening and letter “F” flashes. There is too much ice Suggest you to obtain the ice-cube. (No ice cube inside). Remove the probable obstacle inside or clean the inside wall of the ice storage Press “ICE/CLEAN” button for 5 seconds, it will work for 80 mi...
Page 14 - CIRCUIT DIAGRAM
-12- CIRCUIT DIAGRAM POWER PTC STARTER COMP MW AW M COVER MOTOR CPM DC WATER PUMP WATER LEVEL DATECTING 1 INFRARED SENSOR DETECTOR 5C OPERATION PCB SENSOR FOR ROOM TEMP. OVERLOAD PRORECTOR DC DC FAN MOTOR SUPPLY ELECTRICAL DIAGRAM
Page 15 - DISPOSAL AND WARRANTY INFORMATION; Disposal
-13- DISPOSAL AND WARRANTY INFORMATION When the unit is not to be used again, disposal of this unit’s material shall be in accordance with national regulations. Disposal The manufacturer provides warranty in accordance with the legisla- tion of the customer's own country of residence, with a minimum...