Trinity TR90S90-NP - Manuals
User Manual Trinity TR90S90-NP


Summary
P a g e | 2 ONLINE: TRINITYAPPLIANCES.COM.AU CONTENTS 1 PACKAGE .................................................................................................................................................. 3 1.1 IMPORTANT - CHECK FOR ANY DAMAGE OR MARKS ............................................
P a g e | 3 ONLINE: TRINITYAPPLIANCES.COM.AU Congratulations on purchasing your new appliance! We recommend that you read this Instruction and Installation Manual in order to fully understand how to install and operate it correctly. For installation, please read the installation section. Read all th...
P a g e | 4 ONLINE: TRINITYAPPLIANCES.COM.AU All materials used for packaging are environmentally friendly and are fully recyclable. CAUTION: During unpacking, the packaging materials (polythene bags, polystyrene pieces, etc.) should be kept out of reach of children. 1.4 BEFORE USING YOUR NEW APPL...
Trinity Range Hoods Manuals
-
 Trinity TR20190
User Manual
Trinity TR20190
User Manual
-
 Trinity TR206A60
User Manual
Trinity TR206A60
User Manual
-
 Trinity TR206A90
User Manual
Trinity TR206A90
User Manual
-
 Trinity TR206B75
User Manual
Trinity TR206B75
User Manual
-
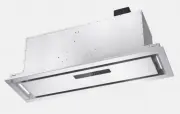
 Trinity TR50275
User Manual
Trinity TR50275
User Manual
-
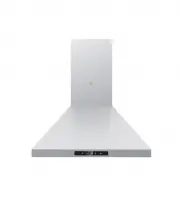
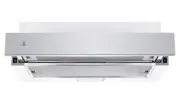
 Trinity TR60C60
User Manual
Trinity TR60C60
User Manual
-
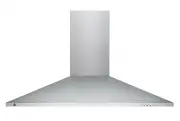
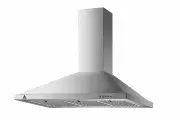
 Trinity TR60T60
User Manual
Trinity TR60T60
User Manual
-
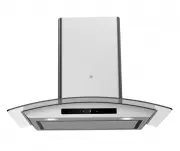
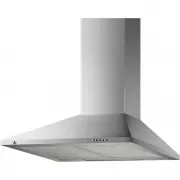
 Trinity TR90C90
User Manual
Trinity TR90C90
User Manual
-
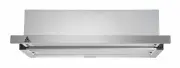
 Trinity TR90T90-NP
User Manual
Trinity TR90T90-NP
User Manual
-
 Trinity TR91260
User Manual
Trinity TR91260
User Manual
-
 Trinity TR91290
User Manual
Trinity TR91290
User Manual
-
 Trinity TR913B52
User Manual
Trinity TR913B52
User Manual
-
 Trinity TR913B90
User Manual
Trinity TR913B90
User Manual