Tefal RK900 - Manuals
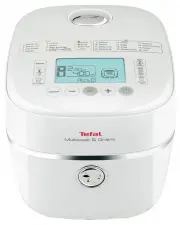
User Manual Tefal RK900
1

2

3

4

5

6

7

8

9

10

11

12

13

14

15

16

17

18

19

20

21

22

23

24

25

26

27

28

29

30

31

32

33

34

35

36

37

38

39

40

41

42

43

44

45

46

47

48

49

50

51

Summary
Page 4 - NUTRITION MENU
EN 5 Nutrition Menu Program number Texture Number of servings Number of rice or grain measuring cups Quantity of water (measured using water measuring cup) NUTRITION MENU
Page 5 - MULTICOOK MENU
6 Multicook menu Program number Time setting Temperature setting Cooking mode Automatic cooking mode Soaking mode Cooking mode Automatic cooking mode MULTICOOK MENU
Page 6 - Read and follow the instructions for use. Keep them safe.; timer or a separate remote control system.; IMPORTANT SAFEGUARDS
EN • Read and follow the instructions for use. Keep them safe. • This appliance is not intended to be operated by means of an external timer or a separate remote control system. • This appliance can be used by children aged from 8 years and above if they have been given supervision or instruction co...