Page 2 - Door seals and sealing surfaces.; TABLE OF CONTENTS
1 1. Do not attempt to operate this oven with the door-open since open-door operation can result in harmful exposure to microwave energy. It is important not to defeat or tamper with the safety interlocks. 2. Do not place any object between the oven front face and the door or allow soil or cleaner r...
Page 3 - SAVE THESE INSTRUCTIONS; WARNING
SAVE THESE INSTRUCTIONS 2 When using electrical appliances, basic safety precautions should be followed, including the following: WARNING - To reduce the risk of burns, electric shock, fire, injury to persons or exposure to excessive microwave energy: 1. Read all instructions before using the applia...
Page 6 - Power Supply Cord; Ra d i o o r TV In t e r f e r e n ce; RECOMMENDED; Microwave browning dish
5 ELECTRICAL REQUIREM ENTS The electrical requirements are a 120 volt 60 Hz power source, AC only, 20 amp. It is recommended that a separate circuit serving only the oven be provided. The oven is equipped with a 3-prong grounding plug. It must be plugged into a wall receptacle that is properly insta...
Page 7 - TIRRING
6 short-term heating at low temperatures. Do not use recycled paper, which may contain metal and could ignite. Wax paper — Use as a cover to prevent spattering. Thermometers — Use only those labeled "Microwave Safe" and follow all directions. Check the food in several places. Conventional th...
Page 8 - Operation Frequency:
7 S HIELDING Shield food with narrow strips of aluminum foil to prevent overcooking. Areas that need shielding include poultry wing tips, the ends of poultry legs, and corners of square baking dishes. Use only small amounts of aluminum foil. Larger amounts can damage your oven. T URNING Turn foods o...
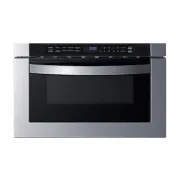
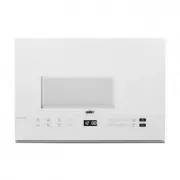
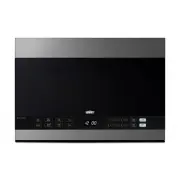
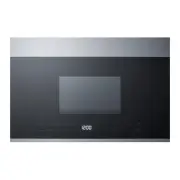
Page 11 - OW TO USE THE
10 The user is free to reset the cooking program stored under each of the ten number keys anytime. In order to set a cooking program, which may contain up to 3 stages of consecutive cooking periods with different power levels, and to designate a number key for this program, see the example below: To...
Page 12 - OUNT OF OPERATIONS
11 Note: If you want the oven to start immediately after touching any of the number keys instead of after touching the START pad, press and hold down STOP/RESET for 5 sec until “P L” appears on the display; now you don’t need to press the START pad after selecting a cooking program by touching any o...
Page 14 - LIMITED WARRANTY; 0-DAY LIMITED WARRANTY; DISCLAIMER OF IMPLIED WARRANTIES LIMITATION OF REMEDIES; For parts and accessory ordering,
13 LIMITED WARRANTY 90-DAY LIMITED WARRANTY Within the 48 contiguous United States, for 90 days from the date of purchase, when this appliance is operated and maintained according to instructions attached to or furnished with the product, warrantor will pay for factory-specified parts and repair lab...