Summit Appliance MRF1087BA - Manuals
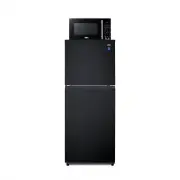
User Manual Summit Appliance MRF1087BA


Summary
4 16. This appliance should be serviced only by qualified service personnel. Contact the nearest authorized service facility for examination, repair, or adjustment. 17. When cleaning surfaces of door and oven that comes together on closing the door, use only mild, nonabrasive soaps, or detergents ap...
5 GROUNDING INSTRUCTIONS This appliance must be grounded. In the event of an electrical short circuit, grounding reduces the risk of electric shock by providing an escape wire for the electric current. This appliance is equipped with a cord having a grounding wire with a grounding plug. The plug mus...
7 1 inch (2.54cm) between aluminum foil and cavity. Ceramic, porcelain, and stoneware — Use these if they are labeled "Microwave Safe". If they are not labeled, test them to make sure they can be used safely. Plastic — Use only if labeled "Microwave Safe". Other plastics can melt. NO...
Summit Appliance Refrigerators Manuals
-
 Summit Appliance ADA36FD
User Manual
Summit Appliance ADA36FD
User Manual
-
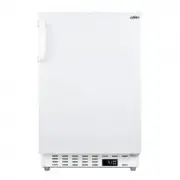
 Summit Appliance ADRD24
User Manual
Summit Appliance ADRD24
User Manual
-
 Summit Appliance ADRF244
User Manual
Summit Appliance ADRF244
User Manual
-
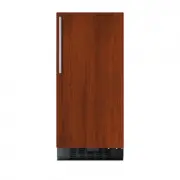
 Summit Appliance AL54
User Manual
Summit Appliance AL54
User Manual
-
 Summit Appliance AL55
User Manual
Summit Appliance AL55
User Manual
-
 Summit Appliance AL55IF
User Manual
Summit Appliance AL55IF
User Manual
-
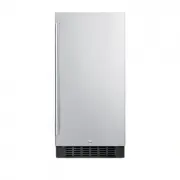
 Summit Appliance ALBV15
User Manual
Summit Appliance ALBV15
User Manual
-
 Summit Appliance ALBV2466
User Manual
Summit Appliance ALBV2466
User Manual
-
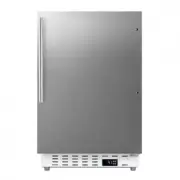
 Summit Appliance ALR15B
User Manual
Summit Appliance ALR15B
User Manual
-
 Summit Appliance ALR15BIF
User Manual
Summit Appliance ALR15BIF
User Manual
-
 Summit Appliance ALR15BSS
User Manual
Summit Appliance ALR15BSS
User Manual
-
 Summit Appliance ALR46W
User Manual
Summit Appliance ALR46W
User Manual
-
 Summit Appliance ALR46WSSHV
User Manual
Summit Appliance ALR46WSSHV
User Manual
-
 Summit Appliance ALR47B
User Manual
Summit Appliance ALR47B
User Manual
-
 Summit Appliance ALR47BSSHV
User Manual
Summit Appliance ALR47BSSHV
User Manual
-
 Summit Appliance ALRF48
User Manual
Summit Appliance ALRF48
User Manual
-
 Summit Appliance ALRF48SSHV
User Manual
Summit Appliance ALRF48SSHV
User Manual
-
 Summit Appliance ALRF49B
User Manual
Summit Appliance ALRF49B
User Manual
-
 Summit Appliance ALRF49BSSHV
User Manual
Summit Appliance ALRF49BSSHV
User Manual
-
 Summit Appliance AR5BIF
User Manual
Summit Appliance AR5BIF
User Manual