Summit Appliance GC527SS2 - Manuals
User Manual Summit Appliance GC527SS2


Summary
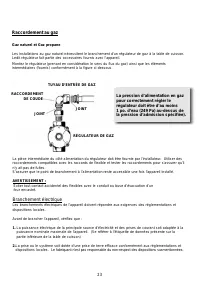
3 IMPORTANT SAFEGUARDS 1) SAFETY INSTRUCTIONS For all appliances: ● The product shall be installed according to the statement that the installation must conform with local codes or, in the absence of local codes, with the National Fuel Gas Code, ANSI Z223.1/NFPA 54. ● The product must be electricall...
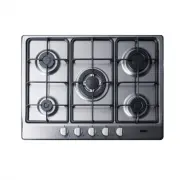
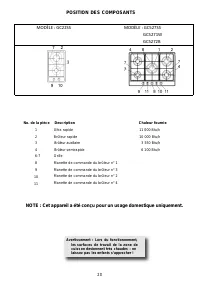
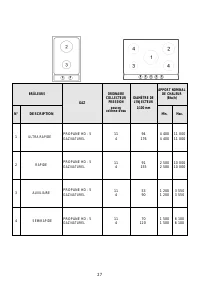
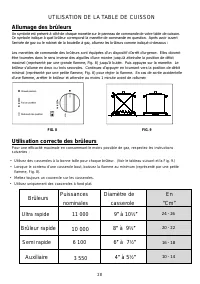
4 LOCATION OF PARTS MODEL : GC22SS MODELS : GC527SS GC5271W GC5272B art No. Description Heat supplied 1 Ultra rapid burner 11 000 Btu/h 2 Fast burner 10 000 Btu/h 3 Auxiliary burner 3 550 Btu/h 4 Semirapid burner 6 100 Btu/h 6-7 Grate 8 Burner no. 1 control knob 9 Burner no. 3 control knob 10 Burner...
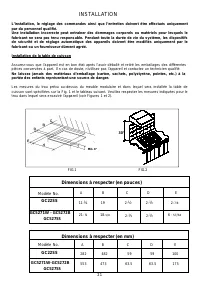
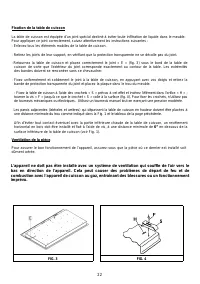
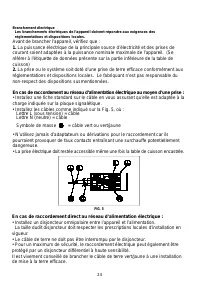
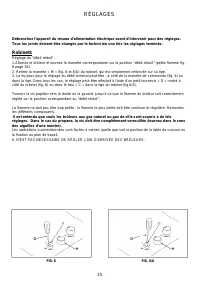
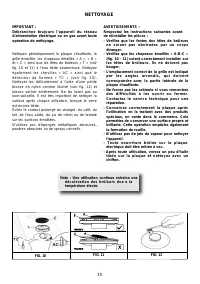
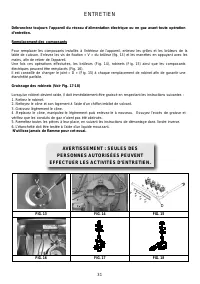
5 INSTALLATION Installation, adjustment of controls and maintenance must only be carried out by qualified personnel. I nc orr ec t i n stal l at i o n m a y c a u s e dam ag e t o p ers o ns , a ni m al s o r pr o per t y f o r w h i c h t h e Manufacturer will not be considered responsible. During ...
Summit Appliance Hobs Manuals
-
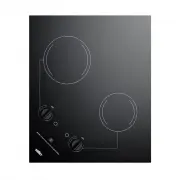
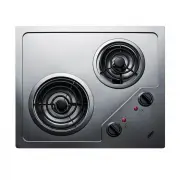
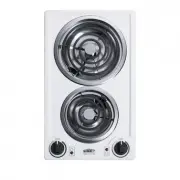 Summit Appliance CCE211WH
User Manual
Summit Appliance CCE211WH
User Manual
-
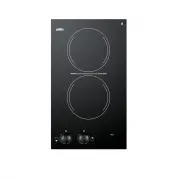
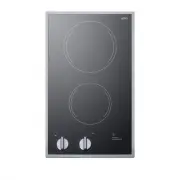
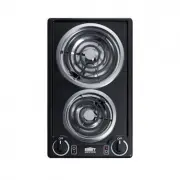 Summit Appliance CCE212BL
User Manual
Summit Appliance CCE212BL
User Manual
-
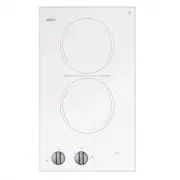
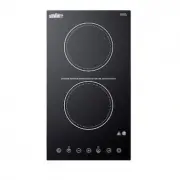
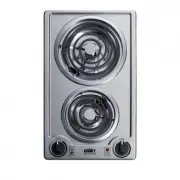 Summit Appliance CCE213SS
User Manual
Summit Appliance CCE213SS
User Manual
-
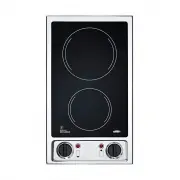
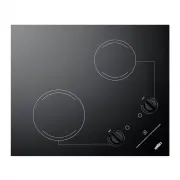
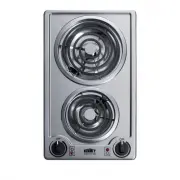 Summit Appliance CCE227SS
User Manual
Summit Appliance CCE227SS
User Manual
-
 Summit Appliance CR2110B
User Manual
Summit Appliance CR2110B
User Manual
-
 Summit Appliance CR2110WHE
User Manual
Summit Appliance CR2110WHE
User Manual
-
 Summit Appliance CR2220B
User Manual
Summit Appliance CR2220B
User Manual
-
 Summit Appliance CR2B120
User Manual
Summit Appliance CR2B120
User Manual
-
 Summit Appliance CR2B120B
User Manual
Summit Appliance CR2B120B
User Manual
-
 Summit Appliance CR2B121
User Manual
Summit Appliance CR2B121
User Manual
-
 Summit Appliance CR2B121B
User Manual
Summit Appliance CR2B121B
User Manual
-
 Summit Appliance CR2B122S
User Manual
Summit Appliance CR2B122S
User Manual
-
 Summit Appliance CR2B12ST
User Manual
Summit Appliance CR2B12ST
User Manual
-
 Summit Appliance CR2B12STE
User Manual
Summit Appliance CR2B12STE
User Manual
-
 Summit Appliance CR2B15T1B
User Manual
Summit Appliance CR2B15T1B
User Manual
-
 Summit Appliance CR2B15T2W
User Manual
Summit Appliance CR2B15T2W
User Manual
-
 Summit Appliance CR2B223G
User Manual
Summit Appliance CR2B223G
User Manual
-
 Summit Appliance CR2B223GL
User Manual
Summit Appliance CR2B223GL
User Manual
-
 Summit Appliance CR2B224S
User Manual
Summit Appliance CR2B224S
User Manual
-
 Summit Appliance CR2B224SS
User Manual
Summit Appliance CR2B224SS
User Manual