Summit Appliance GC22SS2 - Manuals
User Manual Summit Appliance GC22SS2


Summary
3 1) SAFE GUARD INSTRUCTIONS For all appliances: ● the product shall be installed according with the a statement that the installation must conform with local codes or, in absence of local codes, with the National Fuel Gas Code, ANSI Z223.1/NFPA 54. ● The product must be electrically grounded in acc...
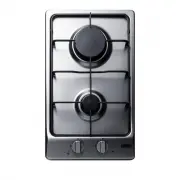
4 NOTICE: This appliance has been manufactured for residential use only. MODEL: GC22SS Part No. Description Heat supplied 2 Fast burner 10 000 Btu/h 3 Auxiliary burner 3 550 Btu/h 7 Grate 9 Burner no. 3 control knob 10 Burner no. 2 control knob Warning: during operation the work surfacesof the cooki...
5 Installation, adjustment of controls and maintenance must only be carried out by qualifiedpersonnel.I n c o r r e c t i n s ta l l a t i o n m a y c a u s e d a m a g e t o p e r s o n s , a n i m a l s o r p r o p e r t y f o r w h i c h t h eManufacturer will not be considered responsible. Durin...
Summit Appliance Hobs Manuals
-
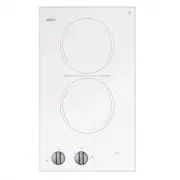
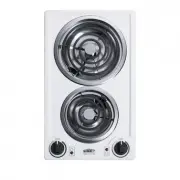 Summit Appliance CCE211WH
User Manual
Summit Appliance CCE211WH
User Manual
-
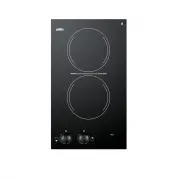
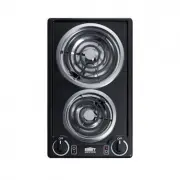 Summit Appliance CCE212BL
User Manual
Summit Appliance CCE212BL
User Manual
-
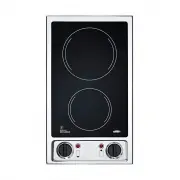
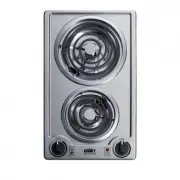 Summit Appliance CCE213SS
User Manual
Summit Appliance CCE213SS
User Manual
-
 Summit Appliance CCE227SS
User Manual
Summit Appliance CCE227SS
User Manual
-
 Summit Appliance CR2110B
User Manual
Summit Appliance CR2110B
User Manual
-
 Summit Appliance CR2110WHE
User Manual
Summit Appliance CR2110WHE
User Manual
-
 Summit Appliance CR2220B
User Manual
Summit Appliance CR2220B
User Manual
-
 Summit Appliance CR2B120
User Manual
Summit Appliance CR2B120
User Manual
-
 Summit Appliance CR2B120B
User Manual
Summit Appliance CR2B120B
User Manual
-
 Summit Appliance CR2B121
User Manual
Summit Appliance CR2B121
User Manual
-
 Summit Appliance CR2B121B
User Manual
Summit Appliance CR2B121B
User Manual
-
 Summit Appliance CR2B122S
User Manual
Summit Appliance CR2B122S
User Manual
-
 Summit Appliance CR2B12ST
User Manual
Summit Appliance CR2B12ST
User Manual
-
 Summit Appliance CR2B12STE
User Manual
Summit Appliance CR2B12STE
User Manual
-
 Summit Appliance CR2B15T1B
User Manual
Summit Appliance CR2B15T1B
User Manual
-
 Summit Appliance CR2B15T2W
User Manual
Summit Appliance CR2B15T2W
User Manual
-
 Summit Appliance CR2B223G
User Manual
Summit Appliance CR2B223G
User Manual
-
 Summit Appliance CR2B223GL
User Manual
Summit Appliance CR2B223GL
User Manual
-
 Summit Appliance CR2B224S
User Manual
Summit Appliance CR2B224S
User Manual
-
 Summit Appliance CR2B224SS
User Manual
Summit Appliance CR2B224SS
User Manual