Summit Appliance FF711ESAL - Manuals
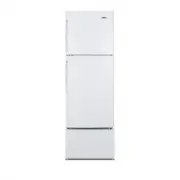
User Manual Summit Appliance FF711ESAL


Summary
2 TABLE OF CONTENTS Important Safeguards 3-4 Location of Parts 5 Installing your Refrigerator 6 Test Run 6 Reversing the Door Swing 7-8 Temperature Control 8 Removing Ice Cubes from the Tray 9 Cleaning and Care 9 Troubleshooting 10 Limited Warranty 12
3 IMPORTANT SAFEGUARDS Before the appliance is used, it must be properly positioned and installed as described in this manual, so please read the manual carefully. To reduce the risk of fire, electrical shock, or injury when using the appliance, follow basic precautions, including the following: • P...
4 • Use two or more people to move and install the appliance. Failure to do so can result in back or other injury. • To ensure proper ventilation for your appliance. The front of the unit must be completely unobstructed. Choose a well-ventilated area with temperature above 60°F (16°C) and below 90°F...
Summit Appliance Refrigerators Manuals
-
 Summit Appliance ADA36FD
User Manual
Summit Appliance ADA36FD
User Manual
-
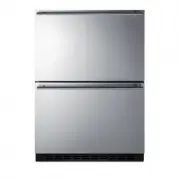
 Summit Appliance ADRD24
User Manual
Summit Appliance ADRD24
User Manual
-
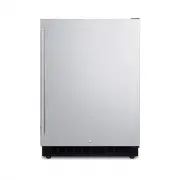
 Summit Appliance ADRF244
User Manual
Summit Appliance ADRF244
User Manual
-
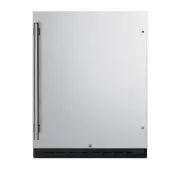
 Summit Appliance AL54
User Manual
Summit Appliance AL54
User Manual
-
 Summit Appliance AL55
User Manual
Summit Appliance AL55
User Manual
-
 Summit Appliance AL55IF
User Manual
Summit Appliance AL55IF
User Manual
-
 Summit Appliance ALBV15
User Manual
Summit Appliance ALBV15
User Manual
-
 Summit Appliance ALBV2466
User Manual
Summit Appliance ALBV2466
User Manual
-
 Summit Appliance ALR15B
User Manual
Summit Appliance ALR15B
User Manual
-
 Summit Appliance ALR15BIF
User Manual
Summit Appliance ALR15BIF
User Manual
-
 Summit Appliance ALR15BSS
User Manual
Summit Appliance ALR15BSS
User Manual
-
 Summit Appliance ALR46W
User Manual
Summit Appliance ALR46W
User Manual
-
 Summit Appliance ALR46WSSHV
User Manual
Summit Appliance ALR46WSSHV
User Manual
-
 Summit Appliance ALR47B
User Manual
Summit Appliance ALR47B
User Manual
-
 Summit Appliance ALR47BSSHV
User Manual
Summit Appliance ALR47BSSHV
User Manual
-
 Summit Appliance ALRF48
User Manual
Summit Appliance ALRF48
User Manual
-
 Summit Appliance ALRF48SSHV
User Manual
Summit Appliance ALRF48SSHV
User Manual
-
 Summit Appliance ALRF49B
User Manual
Summit Appliance ALRF49B
User Manual
-
 Summit Appliance ALRF49BSSHV
User Manual
Summit Appliance ALRF49BSSHV
User Manual
-
 Summit Appliance AR5BIF
User Manual
Summit Appliance AR5BIF
User Manual