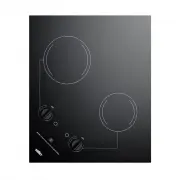
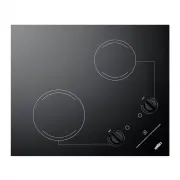
Summit Appliance CR4B23T6WH - Manuals
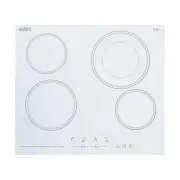
User Manual Summit Appliance CR4B23T6WH


Summary
1 TABLE OF CONTENTS Important Safeguards ..................................................................................... 2 – 7 Safety Precautions ................................................................................ 2 – 3 Electrical Safety ..............................................
2 IMPORTANT SAFEGUARDS READ ALL INSTRUCTIONS BEFORE USE WARNING: For your safety, the information in this manual must be followed to minimize the risk of fire, electric shock, or to prevent property damage, personal injury, or death. SAFETY PRECAUTIONS Proper Installation: Be sure your appliance i...
3 WARNING: Never use your appliance for warming or heating a room. CAUTION: DO NOT touch Cooking Zones or areas near these surfaces. Cooking Zones may be hot from residual heat even though they are dark in color. Areas near the Cooking Zones may become hot enough to cause burns. During and after use...
Summit Appliance Hobs Manuals
-
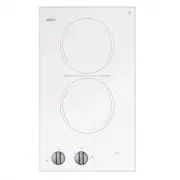
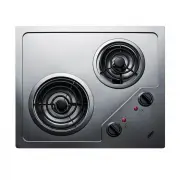
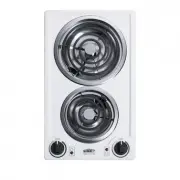 Summit Appliance CCE211WH
User Manual
Summit Appliance CCE211WH
User Manual
-
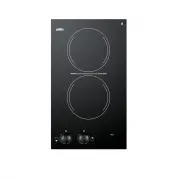
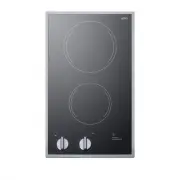
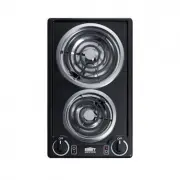 Summit Appliance CCE212BL
User Manual
Summit Appliance CCE212BL
User Manual
-
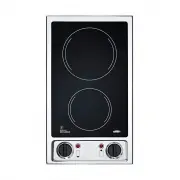
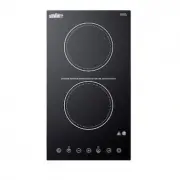
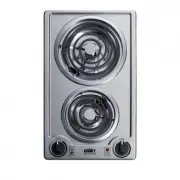 Summit Appliance CCE213SS
User Manual
Summit Appliance CCE213SS
User Manual
-
 Summit Appliance CCE227SS
User Manual
Summit Appliance CCE227SS
User Manual
-
 Summit Appliance CR2110B
User Manual
Summit Appliance CR2110B
User Manual
-
 Summit Appliance CR2110WHE
User Manual
Summit Appliance CR2110WHE
User Manual
-
 Summit Appliance CR2220B
User Manual
Summit Appliance CR2220B
User Manual
-
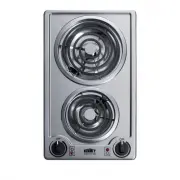
 Summit Appliance CR2B120
User Manual
Summit Appliance CR2B120
User Manual
-
 Summit Appliance CR2B120B
User Manual
Summit Appliance CR2B120B
User Manual
-
 Summit Appliance CR2B121
User Manual
Summit Appliance CR2B121
User Manual
-
 Summit Appliance CR2B121B
User Manual
Summit Appliance CR2B121B
User Manual
-
 Summit Appliance CR2B122S
User Manual
Summit Appliance CR2B122S
User Manual
-
 Summit Appliance CR2B12ST
User Manual
Summit Appliance CR2B12ST
User Manual
-
 Summit Appliance CR2B12STE
User Manual
Summit Appliance CR2B12STE
User Manual
-
 Summit Appliance CR2B15T1B
User Manual
Summit Appliance CR2B15T1B
User Manual
-
 Summit Appliance CR2B15T2W
User Manual
Summit Appliance CR2B15T2W
User Manual
-
 Summit Appliance CR2B223G
User Manual
Summit Appliance CR2B223G
User Manual
-
 Summit Appliance CR2B223GL
User Manual
Summit Appliance CR2B223GL
User Manual
-
 Summit Appliance CR2B224S
User Manual
Summit Appliance CR2B224S
User Manual
-
 Summit Appliance CR2B224SS
User Manual
Summit Appliance CR2B224SS
User Manual