Summit Appliance C39ELGLASSBK - Manuals
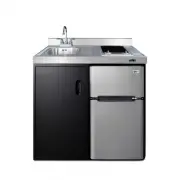
User Manual Summit Appliance C39ELGLASSBK


Summary
2 TABLE OF CONTENTS Appliance Safety 3 Important Safeguards 3-5 Location of Parts 6 Installation Instructions 7-11 Before Using Your Appliance 7 Installation of Your Appliance 7-8 Electrical Connection 8 Backsplash Installation 9 Water Faucet Installation and W ater Line Connection 9 Sink Strainer I...
3 APPLIANCE SAFETY Your safety and the safety of others are very important. We have provided many important safety messages in this manual and on your appliance. Always read and obey all safety messages. This is the Safety Alert Symbol. The symbol alerts you to potential hazards that can kill or inj...
5 Do Not Touch Heating Elements or Areas Near Heating Elements - Heating elements may be hot even though they are dark in color. Areas near heating elements may become hot enough to cause burns. During and after use, do not touch or let clothing or other flammable materials contact heating elements ...
Summit Appliance Refrigerators Manuals
-
 Summit Appliance ADA36FD
User Manual
Summit Appliance ADA36FD
User Manual
-
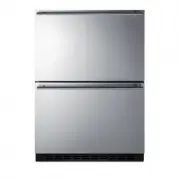
 Summit Appliance ADRD24
User Manual
Summit Appliance ADRD24
User Manual
-
 Summit Appliance ADRF244
User Manual
Summit Appliance ADRF244
User Manual
-
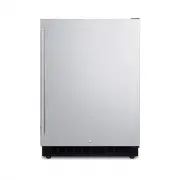 Summit Appliance AL54
User Manual
Summit Appliance AL54
User Manual
-
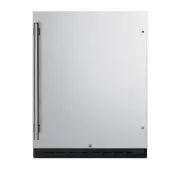 Summit Appliance AL55
User Manual
Summit Appliance AL55
User Manual
-
 Summit Appliance AL55IF
User Manual
Summit Appliance AL55IF
User Manual
-
 Summit Appliance ALBV15
User Manual
Summit Appliance ALBV15
User Manual
-
 Summit Appliance ALBV2466
User Manual
Summit Appliance ALBV2466
User Manual
-
 Summit Appliance ALR15B
User Manual
Summit Appliance ALR15B
User Manual
-
 Summit Appliance ALR15BIF
User Manual
Summit Appliance ALR15BIF
User Manual
-
 Summit Appliance ALR15BSS
User Manual
Summit Appliance ALR15BSS
User Manual
-
 Summit Appliance ALR46W
User Manual
Summit Appliance ALR46W
User Manual
-
 Summit Appliance ALR46WSSHV
User Manual
Summit Appliance ALR46WSSHV
User Manual
-
 Summit Appliance ALR47B
User Manual
Summit Appliance ALR47B
User Manual
-
 Summit Appliance ALR47BSSHV
User Manual
Summit Appliance ALR47BSSHV
User Manual
-
 Summit Appliance ALRF48
User Manual
Summit Appliance ALRF48
User Manual
-
 Summit Appliance ALRF48SSHV
User Manual
Summit Appliance ALRF48SSHV
User Manual
-
 Summit Appliance ALRF49B
User Manual
Summit Appliance ALRF49B
User Manual
-
 Summit Appliance ALRF49BSSHV
User Manual
Summit Appliance ALRF49BSSHV
User Manual
-
 Summit Appliance AR5BIF
User Manual
Summit Appliance AR5BIF
User Manual