SPT IM-60YUS - Manuals
User Manual SPT IM-60YUS


Summary
1 TABLE OF CONTENTS Page ICE MAKER SAFETY …………………………………………………………………2 ELECTRICAL CONNECTION ……………………………………………………....2 SAFETY PRECAUTIONS ……………………………………………………………..3 TECHNICAL INFORMATION ………………………………………………………..3 COMPONENTS ………….………………………………………….…………………4 INSTALLATION INSTRUCTIONS ……………………………………………….5-7...
2 WARNING FOLLOW THESE BASIC PRECAUTIONS TO REDUCE THE RISK OF FIRE, ELECTRICAL SHOCK, OR INJURY WHEN USING YOUR ICE MAKER. • READ ALL INSTRUCTIONS BEFORE USING THE ICE MAKER. • DANGER: RISK OF CHILD ENTRAPMENT. CHILD ENTRAPMENT AND SUFFOCATION ARE NOT PROBLEMS OF THE PAST. JUNKED OR ABANDONED APPLI...
4 NOTE ON ICE STORAGE This type of icemaker produces crystal-clear, gourmet ice cubes. An insulated ice storage bin is built into the unit. When the bin is filled with ice to its max capacity, the icemaker will automatically shut off. The ice in the bin will slowly melt and go out the drain. Once th...
SPT Ice Makers Manuals
-
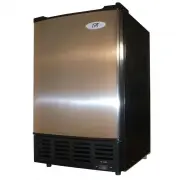
 SPT IM-1108C
User Manual
SPT IM-1108C
User Manual
-
 SPT IM-1109C
User Manual
SPT IM-1109C
User Manual
-
 SPT IM-123B
User Manual
SPT IM-123B
User Manual
-
 SPT IM-123S
User Manual
SPT IM-123S
User Manual
-
 SPT IM-150USA
User Manual
SPT IM-150USA
User Manual
-
 SPT IM-150USAA
User Manual
SPT IM-150USAA
User Manual
-
 SPT IM-441C
User Manual
SPT IM-441C
User Manual
-
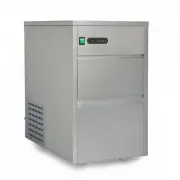
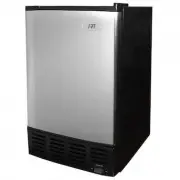
 SPT IM-600US
User Manual
SPT IM-600US
User Manual
-
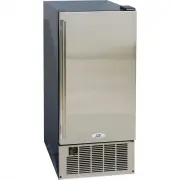
SPT IM-60YUSA
User Manual
-
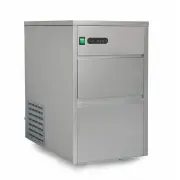
 SPT IM-661C
User Manual
SPT IM-661C
User Manual
-
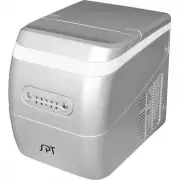
 SPT SZB-20
User Manual
SPT SZB-20
User Manual
-
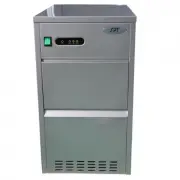
 SPT SZB-21
User Manual
SPT SZB-21
User Manual
-
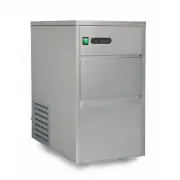
 SPT SZB-40
User Manual
SPT SZB-40
User Manual