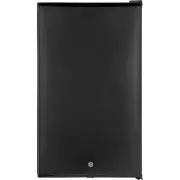
Schmick JC132B-B - Manuals

User Manual Schmick JC132B-B


Summary
2 | P a g e TABLE OF CONTENTS 1 GENERAL INFORMATION Pages 1.1 Foreword 3 1.2 General use 3 1.2.1 Children 3 1.2.2 Warnings 3 1.2.3 Safety 4 1.3 Controller Settings 5 1.4 Responsibility of the customer 5 2 TECHNICAL DATA 2.1 Materials and Refrigerant 5 3 INSTALLATION 3.1 Positioning 6 3.1.1 Cooler le...
3 | P a g e 1. GENERAL INFORMATION 1.1 FOREWORD The purpose of this document is to provide important information regarding the installation, use and maintenance of the cooler. Before any operation, you should read carefully the information contained in this manual. The manufacturer assumes no liabil...
4 | P a g e Do not use electrical appliances inside the food storage compartments of the appliance, unless they are of the type recommended by the manufacturer. Do not Store explosive substances such as aerosol cans with a flammable propellant in this appliance. Don’t store flammable liquids near un...
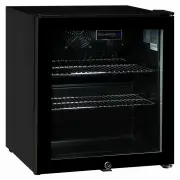
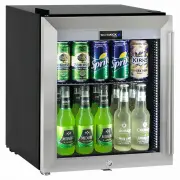
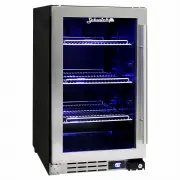
Schmick Refrigerators Manuals
-
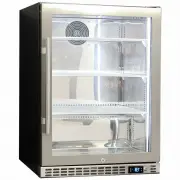
 Schmick BCH-70B
User Manual
Schmick BCH-70B
User Manual
-
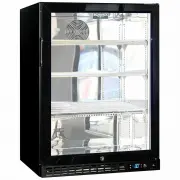
 Schmick BD425B
User Manual
Schmick BD425B
User Manual
-
 Schmick HUS-EX108
User Manual
Schmick HUS-EX108
User Manual
-
 Schmick HUS-EX46
User Manual
Schmick HUS-EX46
User Manual
-
 Schmick HUS-SC50AB
User Manual
Schmick HUS-SC50AB
User Manual
-
 Schmick HUS-SC50L-SS
User Manual
Schmick HUS-SC50L-SS
User Manual
-
 Schmick HUS-SC70-B
User Manual
Schmick HUS-SC70-B
User Manual
-
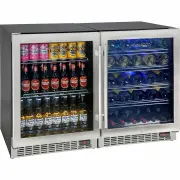
 Schmick HUS-SC70-SS-COMBO
User Manual
Schmick HUS-SC70-SS-COMBO
User Manual
-
 Schmick HUS-SC88L-SS
User Manual
Schmick HUS-SC88L-SS
User Manual
-
 Schmick HUS-SC88-SS
User Manual
Schmick HUS-SC88-SS
User Manual
-
 Schmick JC132W-B
User Manual
Schmick JC132W-B
User Manual
-
 Schmick JC95B
User Manual
Schmick JC95B
User Manual
-
 Schmick JC95B-B
User Manual
Schmick JC95B-B
User Manual
-
 Schmick JC95W
User Manual
Schmick JC95W
User Manual
-
 Schmick JC95W-B
User Manual
Schmick JC95W-B
User Manual
-
 Schmick SK118L-BS
User Manual
Schmick SK118L-BS
User Manual
-
 Schmick SK151-COMBO
User Manual
Schmick SK151-COMBO
User Manual
-
 Schmick SK151W
User Manual
Schmick SK151W
User Manual
-
 Schmick SK156R-B
User Manual
Schmick SK156R-B
User Manual
-
 Schmick SK156R-HD
User Manual
Schmick SK156R-HD
User Manual