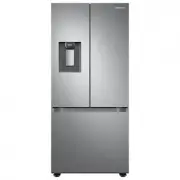
Samsung SRF801GDLS - Manuals
User Manual Samsung SRF801GDLS


Summary
02_ safety information SAFETY INFORMATION • Before operating the appliance, please read this manual thoroughly and retain it at a safe place near the appliance for your future reference. • Use this appliance only for its intended purpose as described in this instruction manual. This appliance is not...
04_ safety information the divider using provided screws after cleaning or other actions if you removed the divider from the drawer. • Never put fingers or other objects into the dispenser hole. - Failure to do so may cause personal injury or material damage. • Do not store volatile or flammable sub...
safety information _05 • Do not spray volatile material such as insecticide onto the surface of the appliance. - As well as being harmful to humans, it may also result in an electric shock, fire or problems with the product. CAUTION SIGNS FOR ClEANING ANd MAINTENANCE • Do not directly spray water in...
Samsung Refrigerators Manuals
-
 Samsung RB37A5
User Manual
Samsung RB37A5
User Manual
-
 Samsung RB37A50N0WW
User Manual
Samsung RB37A50N0WW
User Manual
-
 Samsung RB37A5290EL
User Manual
Samsung RB37A5290EL
User Manual
-
 Samsung RB37A5290SA
User Manual
Samsung RB37A5290SA
User Manual
-
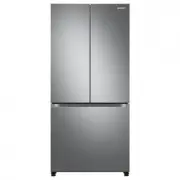
 Samsung RF18A5101SG
User Manual
Samsung RF18A5101SG
User Manual
-
 Samsung RF18A5101SG/AA
User Manual
Samsung RF18A5101SG/AA
User Manual
-
 Samsung RF18A5101SR
User Manual
Samsung RF18A5101SR
User Manual
-
Samsung RF18A5101SR/AA
User Manual
-
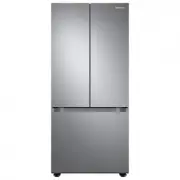
 Samsung RF20A5101SR/AA
User Manual
Samsung RF20A5101SR/AA
User Manual
-
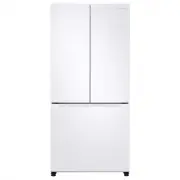 Samsung RF20A5101WW
User Manual
Samsung RF20A5101WW
User Manual
-
 Samsung RF22A4121SR
User Manual
Samsung RF22A4121SR
User Manual
-
 Samsung RF22A4121SR/AA
User Manual
Samsung RF22A4121SR/AA
User Manual
-
 Samsung RF22A4221SR
User Manual
Samsung RF22A4221SR
User Manual
-
 Samsung RF22A4221SR/AA
User Manual
Samsung RF22A4221SR/AA
User Manual
-
 Samsung RF23A9671SR/AA
User Manual
Samsung RF23A9671SR/AA
User Manual
-
 Samsung RF23A9675
User Manual
Samsung RF23A9675
User Manual
-
Samsung RF23A967512
User Manual
-
 Samsung RF23A9771SR
User Manual
Samsung RF23A9771SR
User Manual
-
 Samsung RF23BB8200QL
User Manual
Samsung RF23BB8200QL
User Manual
-
 Samsung RF23BB860012
User Manual
Samsung RF23BB860012
User Manual