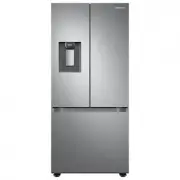
Samsung SRF7300BA - Manuals
User Manual Samsung SRF7300BA


Summary
English 2 Contents Contents Safety information 3 What you need to know about the safety instructions 3 Important safety symbols and precautions: 4 Important safety precautions 5 Severe warning signs for transportation and site 8 Critical installation warnings 9 Installation cautions 12 Critical usag...
English 3 Safety information Before using your new Samsung Refrigerator, please read this manual thoroughly to ensure that you know how to operate the features and functions that your new appliance offers safely and efficiently. What you need to know about the safety instructions • Warnings and Impo...
Safety information English 4 Safety information • Refrigerant squirting out of the pipes could ignite or cause an eye injury. When refrigerant leaks from the pipe, avoid any naked flames and move anything flammable away from the product and ventilate the room immediately.- Failing to do so may resul...
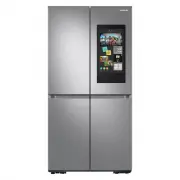
Samsung Refrigerators Manuals
-
 Samsung RB37A5
User Manual
Samsung RB37A5
User Manual
-
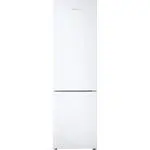 Samsung RB37A50N0WW
User Manual
Samsung RB37A50N0WW
User Manual
-
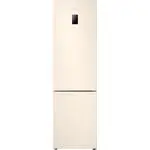 Samsung RB37A5290EL
User Manual
Samsung RB37A5290EL
User Manual
-
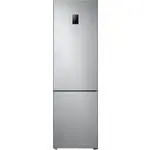 Samsung RB37A5290SA
User Manual
Samsung RB37A5290SA
User Manual
-
 Samsung RF18A5101SG
User Manual
Samsung RF18A5101SG
User Manual
-
 Samsung RF18A5101SG/AA
User Manual
Samsung RF18A5101SG/AA
User Manual
-
 Samsung RF18A5101SR
User Manual
Samsung RF18A5101SR
User Manual
-
Samsung RF18A5101SR/AA
User Manual
-
 Samsung RF20A5101SR/AA
User Manual
Samsung RF20A5101SR/AA
User Manual
-
 Samsung RF20A5101WW
User Manual
Samsung RF20A5101WW
User Manual
-
 Samsung RF22A4121SR
User Manual
Samsung RF22A4121SR
User Manual
-
 Samsung RF22A4121SR/AA
User Manual
Samsung RF22A4121SR/AA
User Manual
-
 Samsung RF22A4221SR
User Manual
Samsung RF22A4221SR
User Manual
-
 Samsung RF22A4221SR/AA
User Manual
Samsung RF22A4221SR/AA
User Manual
-
 Samsung RF23A9671SR/AA
User Manual
Samsung RF23A9671SR/AA
User Manual
-
 Samsung RF23A9675
User Manual
Samsung RF23A9675
User Manual
-
Samsung RF23A967512
User Manual
-
 Samsung RF23A9771SR
User Manual
Samsung RF23A9771SR
User Manual
-
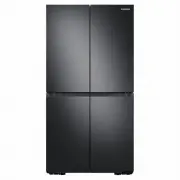
 Samsung RF23BB8200QL
User Manual
Samsung RF23BB8200QL
User Manual
-
 Samsung RF23BB860012
User Manual
Samsung RF23BB860012
User Manual