Samsung SRF579DLS - Manuals

User Manual Samsung SRF579DLS


Summary
02_ features features of your new refrigerator KEY FEATURES OF YOUR NEW REFRIGERATOR Your Samsung Refrigerator comes equipped with various innovative storage and energy-efficient features. • Twin Cooling System The Refrigerator and Freezer have separate evaporators. Due to this independent cooling s...
safety information _03 safety information SAFETY INFORMATION • Before operating the appliance, please read this manual thoroughly and retain it at a safe place near the appliance for your future reference. • Use this appliance only for its intended purpose as described in this instruction manual. Th...
04_ safety information safety information SEvERE WARNING SIGNS FOR TRANSpORTATION ANd SITE • When transporting and installing the appliance, care should be taken to ensure that no parts of the refrigerating circuit are damaged. - Refrigerant leaking from the pipe work could ignite or cause an eye in...
Samsung Refrigerators Manuals
-
 Samsung RB37A5
User Manual
Samsung RB37A5
User Manual
-
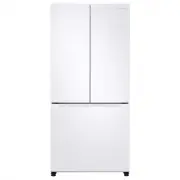
 Samsung RB37A50N0WW
User Manual
Samsung RB37A50N0WW
User Manual
-
 Samsung RB37A5290EL
User Manual
Samsung RB37A5290EL
User Manual
-
 Samsung RB37A5290SA
User Manual
Samsung RB37A5290SA
User Manual
-
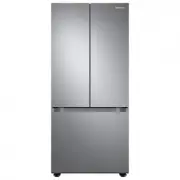
 Samsung RF18A5101SG
User Manual
Samsung RF18A5101SG
User Manual
-
 Samsung RF18A5101SG/AA
User Manual
Samsung RF18A5101SG/AA
User Manual
-
 Samsung RF18A5101SR
User Manual
Samsung RF18A5101SR
User Manual
-
Samsung RF18A5101SR/AA
User Manual
-
 Samsung RF20A5101SR/AA
User Manual
Samsung RF20A5101SR/AA
User Manual
-
 Samsung RF20A5101WW
User Manual
Samsung RF20A5101WW
User Manual
-
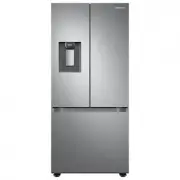
 Samsung RF22A4121SR
User Manual
Samsung RF22A4121SR
User Manual
-
 Samsung RF22A4121SR/AA
User Manual
Samsung RF22A4121SR/AA
User Manual
-
 Samsung RF22A4221SR
User Manual
Samsung RF22A4221SR
User Manual
-
 Samsung RF22A4221SR/AA
User Manual
Samsung RF22A4221SR/AA
User Manual
-
 Samsung RF23A9671SR/AA
User Manual
Samsung RF23A9671SR/AA
User Manual
-
 Samsung RF23A9675
User Manual
Samsung RF23A9675
User Manual
-
Samsung RF23A967512
User Manual
-
 Samsung RF23A9771SR
User Manual
Samsung RF23A9771SR
User Manual
-
 Samsung RF23BB8200QL
User Manual
Samsung RF23BB8200QL
User Manual
-
 Samsung RF23BB860012
User Manual
Samsung RF23BB860012
User Manual